Mason Jar Tutorial

Posted on

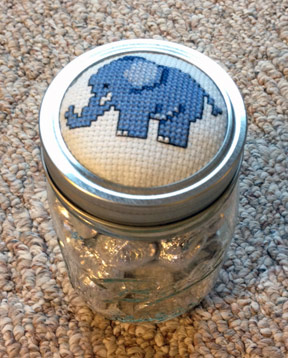
I decided to turn the small elephant into a Mason jar to fill up with candy for one of Adrienne’s preschool teachers. Having never done this before, I had to kind of play it by ear. Here is how I did it, although there are probably many other ways it can be done.

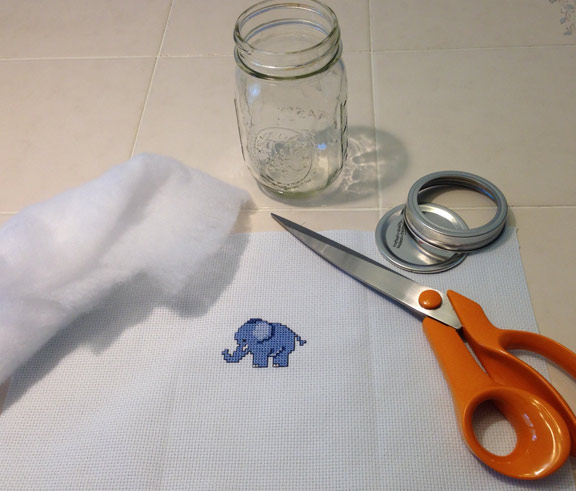
First, assemble your supplies: the finished stitching, a Mason jar with lid and ring, scissors, fiberfill stuffing, a pencil, Elmer’s glue, and a hot glue gun.

jar1

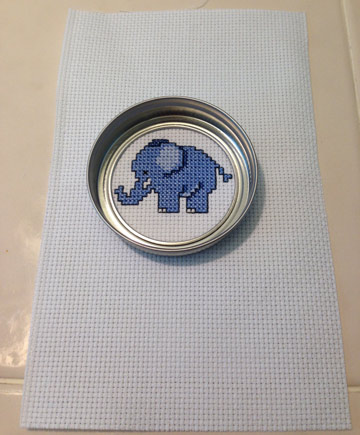
Center the ring over your stitching to make sure that it fits. As you can see from the photo, my elephant just barely fit inside. Using the pencil, lightly trace around the outside of the jar ring. Cut out your stitched piece, cutting on the pencil mark.

jar2

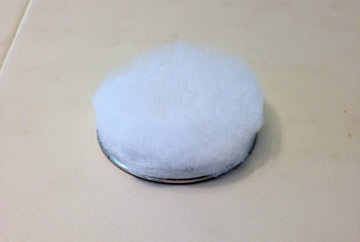
Use the jar lid (not the ring) as a template to cut out several circles of fiberfill. Glue the fiberfill circles to the top of the lid. Elmer’s glue will probably work better for this than the glue gun. The more fiberfill, the puffier the end result. Of course, you can skip this step altogether if you want your stitching to be flat against the lid.

jar3

Unfortunately, I forgot to take a photo of this next part. Put your cross stitched circle into the ring and make sure that it is centered. Put the fiberfill/lid inside the ring so that it rests on the stitching. Look at it from the right side – the design should be centered and the fiberfill should make it puff up. When you are happy with it, take the pieces out. If your circle of fabric is too large and and the edges are not laying flat in the ring, trim off the edges slightly. Spread hot glue all around the inside of the jar ring and press the stitched piece onto it. You will have to work quickly to make sure it doesn’t harden on you. Try not to use too much glue because the bumpier (thicker) it is, the harder it will be to get the lid to screw onto the jar. Then put hot glue on the edges of the lid with the fiberfill and press that onto the stitched piece.

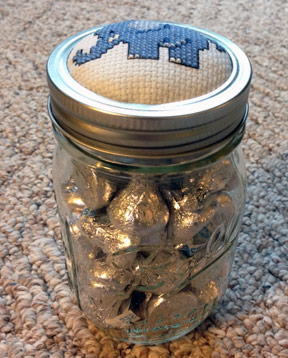
After your lid has been glued, attach it to the jar. It will only screw on if you have pushed it down all the way and don’t have any excess fabric showing. If you do have excess fabric, you should be able to cut it off using an X-ACTO knife. I had little bits of fiberfill coming out that needed to be trimmed off. Let the lid sit on the jar for a while to make sure the glue is dry and hardened and the stitching is pressed into the lid tightly. Then, you can unscrew the lid and fill the jar with goodies – in this case, Hershey Kisses!

jar5   jar4

XXX
Carrie


Elephant

Posted on

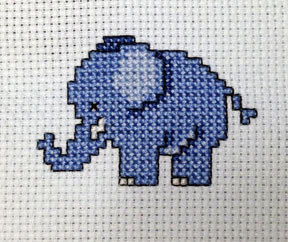
elephant2Finished! This cutie only took a couple of hours and was fun to stitch. I think it is just the right size for a Mason jar lid, so I think I will finish it off that way and then put some M&Ms or other goodies in the jar for Adrienne’s teacher.

XXX
Carrie


For the Teacher

Posted on

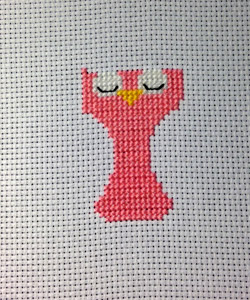
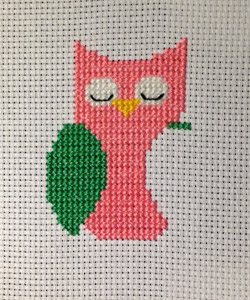
My daughter will be graduating from preschool at the end of the month and I have decided to cross stitch gifts for her two teachers. One loves elephants, which just happens to be my daughter’s favorite animal as well. I wasn’t sure what to stitch for her other teacher, though. Then Adrienne told me that she loves owls, so I was on a quest to find a cute owl chart. I found lots of charts in my stash, but they were either way too big, the wrong subject (an owl with a bandaged wing and the saying “get well soon”? I don’t think so!) so I searched online. I found a picture of an adorable already-stitched owl but unfortunately didn’t know who made the chart. It was quite a simple design, though, so I just got out some graph paper and used the photo to see where to put each stitch.

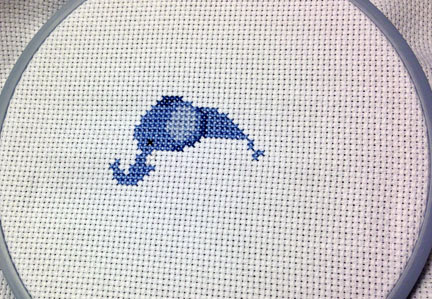
Here are the progress photos for Saturday and Sunday.

owl1     owl2

Hopefully this will only take another 2-3 stitching sessions to complete. Once it is done, I will start on the elephant. I am not quite sure yet how I will finish them off. Frame? Mini pillow? I guess we’ll just have to see.

XXX
Carrie


Almost There!

Posted on

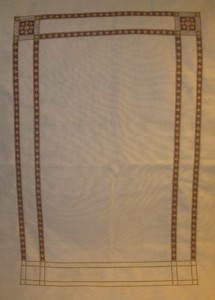
Peacock Tapestry is coming along great! I have now finished the top border, top two corner blocks, and two side borders.

I think once I get the two other corner blocks and the bottom border done, I will put it away for a while. I don’t want to get burned out on this large project. So I have to decide what to work on next. Do I start a new project that I am really excited about, or make myself work on or finish a WIP? I have Adrienne’s stocking, which is barely started. Then there is Jim’s woodland deer which is going well but kind of borning, because it is all browns and greens. I found a great new project in a British magazine on my iPad – a two parter of an African landscape. Huge and detailed, but gorgeous, with elephants, giraffes, lions, etc. I also have a DMC kit from Pollyanna Pickering which is similar, but a lot less work. And then the British magazine Cross Stitch Gold just put out a chart of a girl holding a peacock. I have already picked out the floss and fabric for that one, but won’t let myself start it until I get a grasp on some of my WIPs. Of course, I might change my mind. Oh, what to stitch next? Decisions, decisions…

XXX
Carrie