Christmas Stitching

Posted on

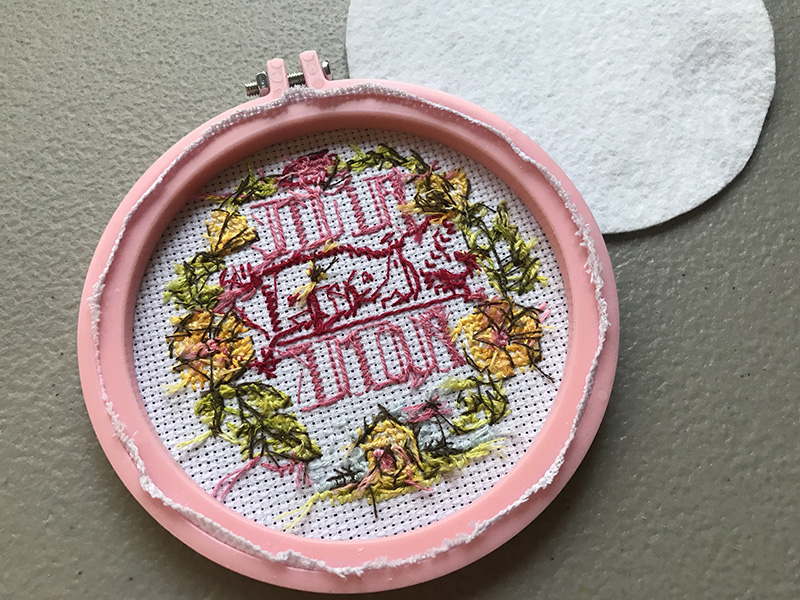
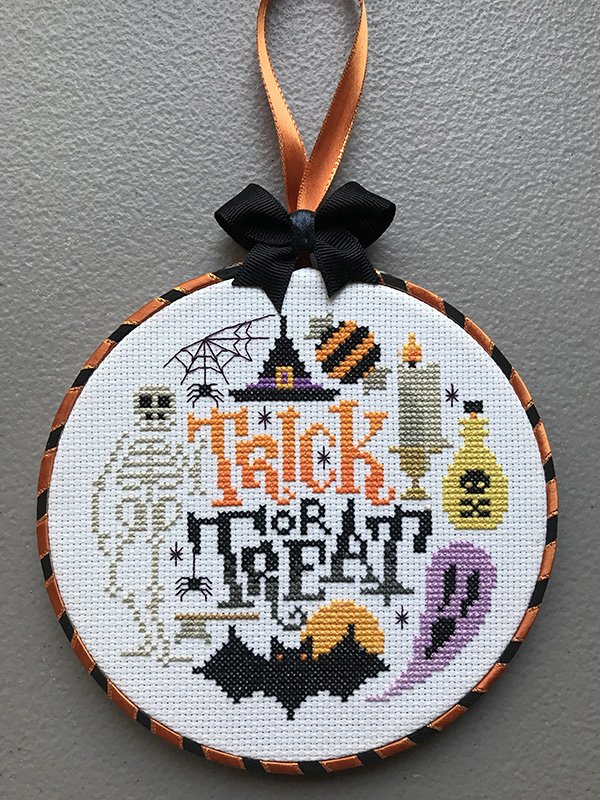
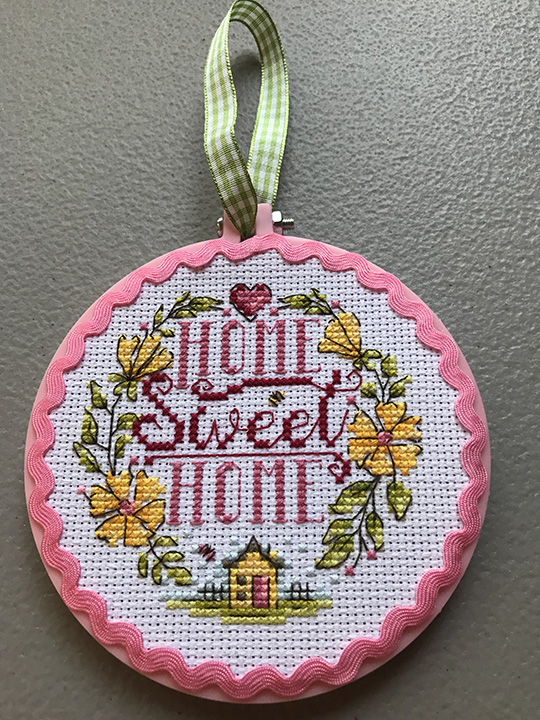
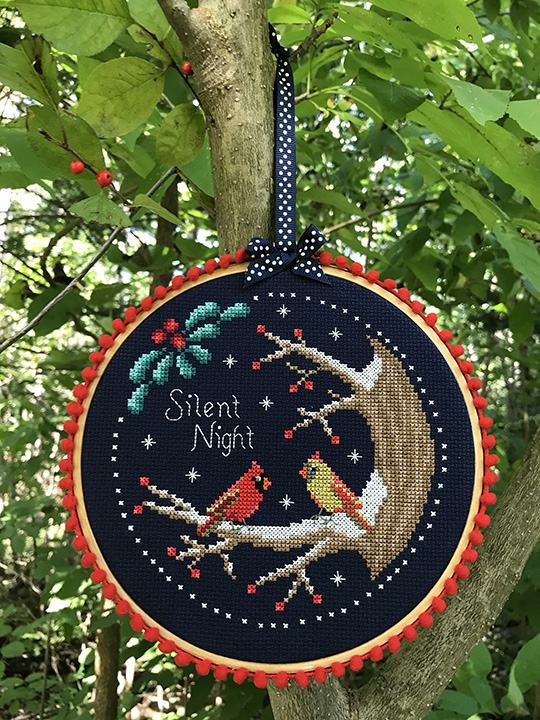
Usually I stitch medium to large cross stitch projects that take quite a bit of time and concentration. Lately, however, I have been gravitating toward smaller, easier, and quicker projects. My stitching time is so limited and I want to be able to finish as many things as fast as possible. I’ve also gotten rid of a lot of projects in my WIP pile this year. The only two unfinished projects I have now are Peacock Tapestry and A Summer Ball. I would like to work on A Summer Ball sometime soon, but I don’t have plans on finishing that one for years. Instead, I would like to build up a large collection of smalls for each holiday. That is what I have decided 2022 is going to be – A Year Of Smalls. I am going to start working on Christmas and winter designs, and once I have a bunch of those done I will probably work on 4th of July and Halloween. Those are the 4 main themes I want to stitch for. If time allows I would also like to have a few designs each for St. Patrick’s Day, Valentine’s Day, and Thanksgiving.

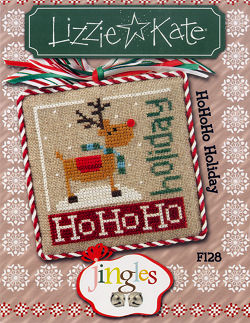
I also want to have a bunch of projects kitted up to have ready to go whenever the mood strikes. I don’t mind if I work on multiple projects at once. One of the projects I have just started is F128 HoHoHo Holiday JINGLES Flip-it by Lizzie Kate and it is adorable!

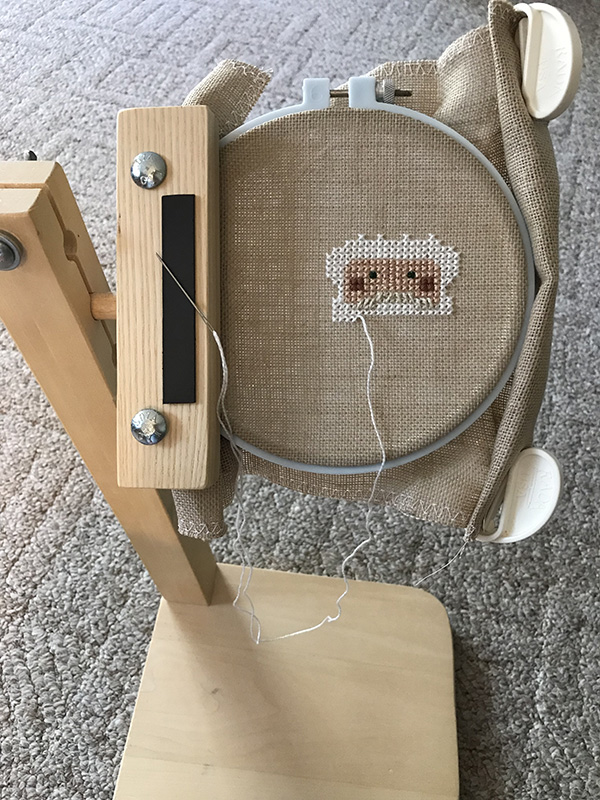
So far I only have Rudolph’s red blanket (saddle??) and part of his body stitched. But I will work on this one for quite a while before moving on.

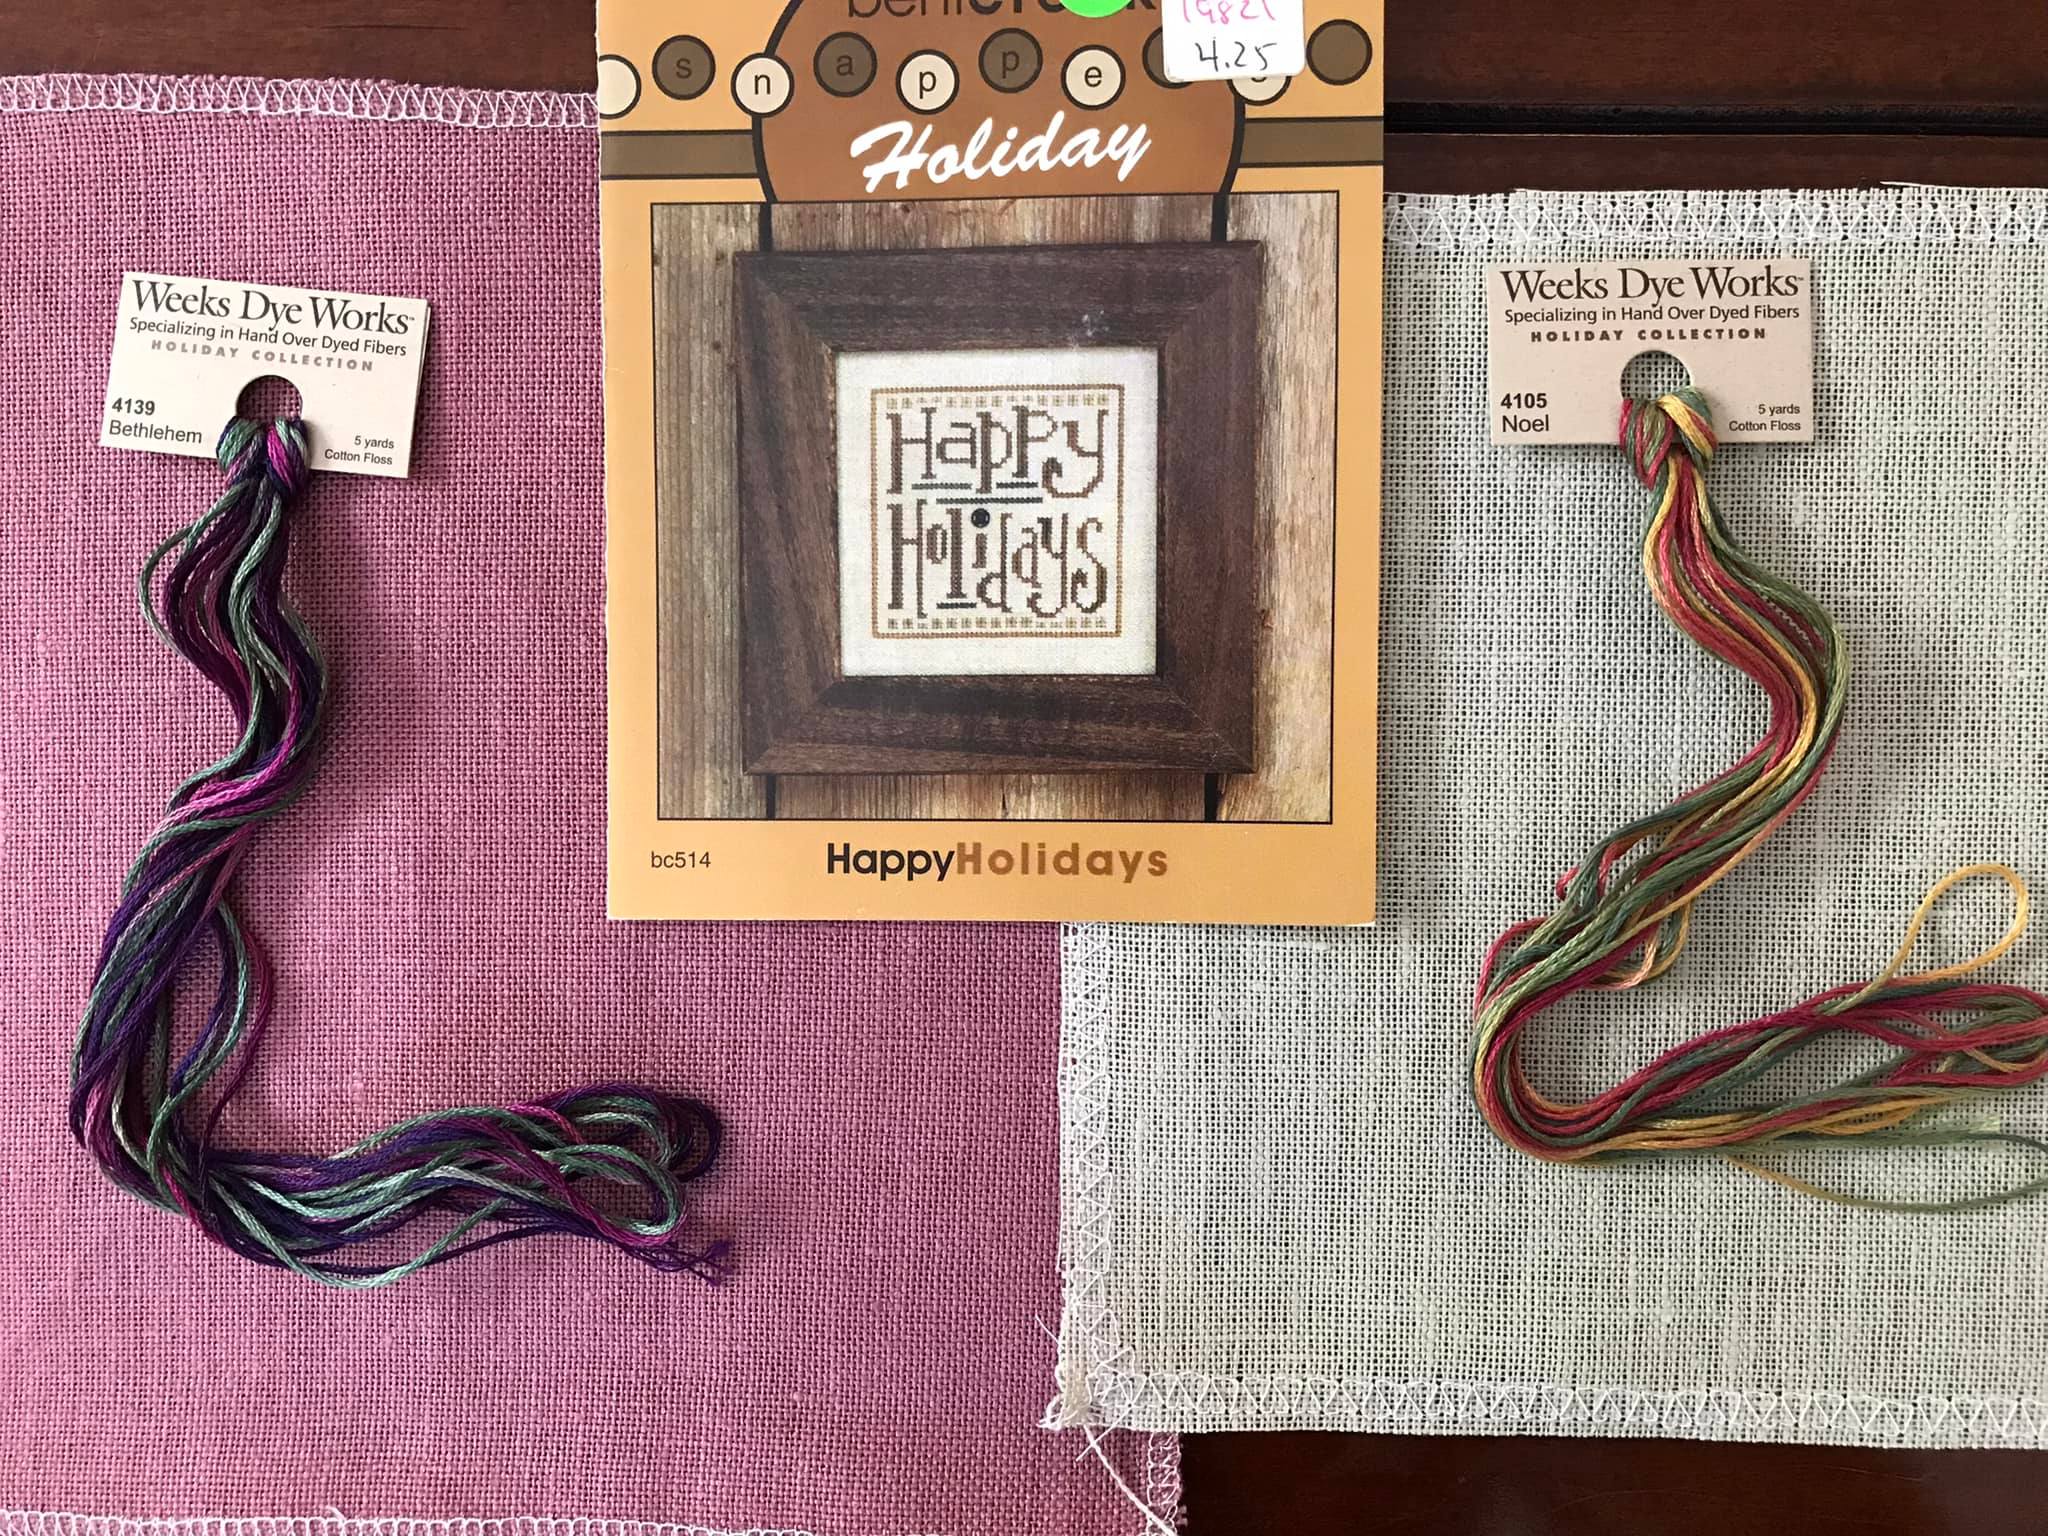
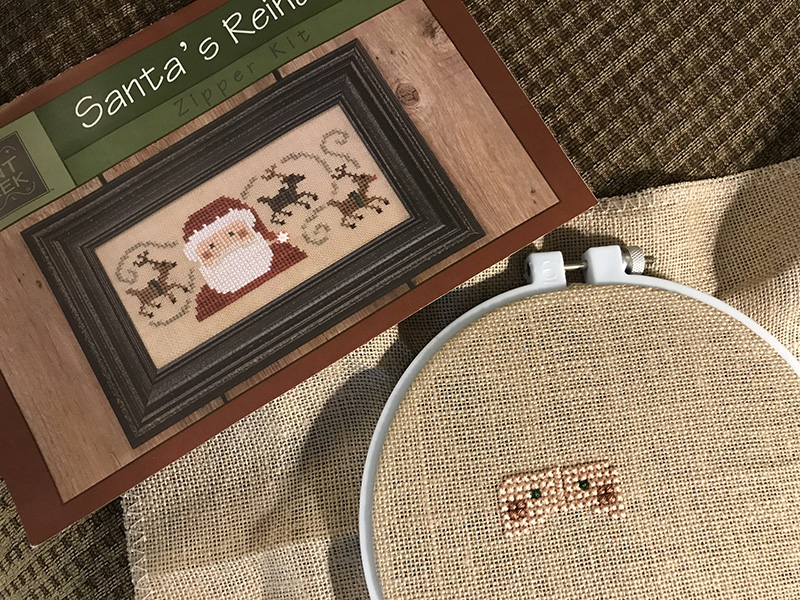
I also plan on working on Happy Holidays by Bent Creek which I blogged about recently, although I have not yet decided on which color scheme I want to go with.

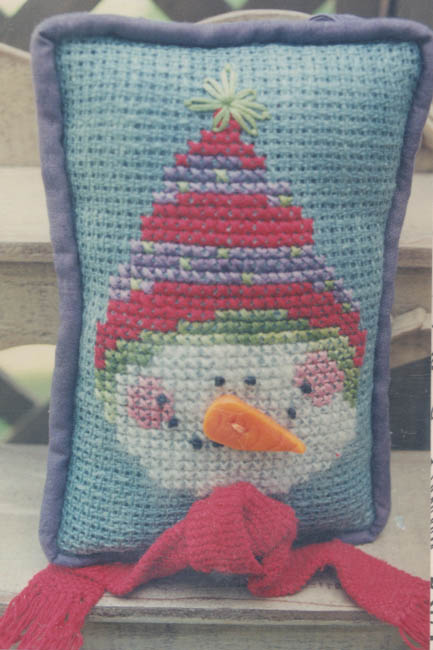
Another fun winter project is this adorable snowman, J.T. Fuzzy from Sisters and Best Friends. I have not kitted up this one yet, but assuming I have the correct 7 count Klostern fabric on hand, this one will be a really fast stitch because it is very small. I just love the carrot button nose and real scarf!

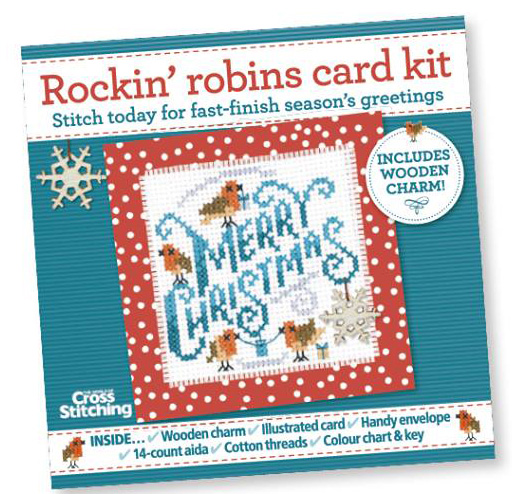
And last but not least, is a free cover kit that came with a recent issue of The World of Cross Stitching. It features robins (well, British robins!) and the words Merry Christmas, along with a wooden snowflake charm. Although it came with a card and envelope, I am going to finish it off as a small pillow or flat fold instead. I actually started this project in the waiting room at the hospital a couple of weeks ago while waiting for my husband to have a procedure done. I have not worked on it since but it will be going into the rotation.

XXX
Carrie


Decisions, decisions!

Posted on

I have been looking for several quick and easy projects to kit up so that I can always have something ready to work on when needed, especially if I need to take a project on the go (like in the car for when I’m waiting). I had this chart laying around and liked it but thought that the brown color scheme seemed all wrong for the holidays. So I picked out two pieces of fabric that I like and two skeins of Weeks Dye Works variegated floss. My plan is to stitch the design with only one color of floss, to make it easier and faster.

The tough choice is, which do I choose? I absolutely love the pink fabric with the Bethlehem floss, but the green fabric with the Noel floss is more “Christmasy”. I also have a lot of pieces of fabric like the green, whereas I only have that one piece of pink. And I only have one skein of Noel, whereas I have 4 skeins of Bethlehem. I sort of want to save the pink fabric for a design a bit more “worthy” of the fabric. But I have yet to come across anything in my stash that would work with only one skein of floss and on that small size of piece of fabric. I think I will think about this for a few days!

XXX
Carrie


Hoop Finishing Tutorial

Posted on

Today I am going to show you how I finish my cross stitched projects in an embroidery hoop.

First, gather your materials. You will need paint and a paintbrush, or a paint marker such as a Posca pen. When using paint I like to use the small bottles of acrylic craft paint and a wooden handled sponge applicator instead of an actual paintbrush. Cover your work surface.

You will also need felt that matches the color of your fabric, ribbons and other embellishments, scissors, and a hot glue gun.

Carefully paint the outer hoop only, using thin coats of paint. It is better to let the project dry and then add a second or even third coat, rather than trying to paint on one thick coat. Try not to get paint on the inside of the hoop, but be sure to paint the outside edges. You will probably need to do one side, let it dry, then do the other.

If you want to wrap a decorative ribbon around the hoop, follow the next step. If you will be painting your hoop only, you can skip this part.

Add a drop of hot glue to the top of one side of the hoop and attach your ribbon at an angle. When it is dry, cut off the edge to be flush with the hoop. Slowly wrap the ribbon around the hoop, leaving a gap so the contrasting paint color can show. Add a drop of glue on the underside of the hoop only, about every other wrap. Use only as much glue as needed to ensure a secure hold. Too much glue will be messy and bumpy.

When you get to the other end of the hoop, add a drop of glue to the end and trim off the end just like you did when you started.

Place your finished cross stitch project in the two hoops and tighten it, being sure the design is centered and the fabric is taut.

If you find it difficult to get the hoop exactly centered, as I did on this Silent Night design with a circular stitched border, lay just the top hoop on the fabric and use pins to mark the four sides. Count an equal number of stitches from the sides of the stitching and keep moving the pins, one Aida block at a time, until you have an equal number of empty stitches on all four sides, as shown below.

Cut the excess fabric away from the hoop. You want to leave just enough fabric to be able to wrap around the hoop and glue down to the inner sides of it.

Carefully fold the cross stitch fabric over the inner hoop and hold it in place with hot glue. Continue this process around the entire hoop. You want to be sure that the fabric you are folding over isn’t so big that it lays on the back of the stitched piece, to avoid a bulky finish.

Sometimes you won’t have much excess fabric at all, such as with this free cover kit that came with an issue of The World of Cross Stitching magazine. When this happens, it may be easier to trim all excess fabric off after the project is in the hoop.

Next, cut a circle of felt the same color as your cross stitch fabric and glue it around the edges of the back of the hoop. You can also add a second, slightly smaller smaller piece of felt directly to the back of the stitching, and this will help the design not be see-through if you are hanging it in a window where sunlight will shine through it. I would caution against adding glue to this piece, however. I try not to let glue ever touch my stitching, as it can yellow over time.

Once your felt is added to the back, you can add a cute label, if you wish. This label was cut from a piece of ribbon that was added with just a touch of hot glue.

Add a ribbon for a hanger and then you can add other embellishments like a bow, other ribbons, small greenery, pinecones, buttons, etc.

You can also finish off a plastic or painted wooden hoop with ric rac, as shown below. I started at the top and added a drop of hot glue, then pressed the ric rac in place. I curved the trim around the hoop and put a drop of glue every other top curve in the ric rac.

Pom Pom trim also makes a cute addition to your hoop finishing. I added it to a natural wooden frame that I did not paint, below. I used hot glue to add the trim on the outside edge of the outer hoop, making sure the pom poms were facing toward the stitched front.

What fun finishing designs can you come up with?

XXX
Carrie


Exclusive Colors are Back!

Posted on

The 2013 exclusive DMC colors which were only being offered in a special boxed set are now available for open stock!

16 colors were initially introduced and sold in the exclusive set only; they were not available for individual purchase. Of course, after designers started using these “new” colors DMC decided to discontinue them. They kept releasing the boxed set but with only a few of the new colors, and the rest were not-quite-so-similar substitutes from their normal range of floss. People were extremely disappointed when they purchased the boxed sets around 2019-2020 and found they were not the same set that was released initially. No one knows how long these will be available in open stock, though, and DMC only released 14 of the 16 colors. According to DMC’s American headquarters, these colors have been discontinued and they are selling off old stock (which might be why most of the boxes are the old blue and yellow color instead of the new blue and white). Yet according to some US distributors, these are “new” colors.

You can purchase 14 of the 16 colors at www.crossstitchers.com

XXX
Carrie


A Santa Cushion

Posted on

I decided to finish off Santa and his reindeer as a long cushion. First I picked a coordinating calico fabric and cut strips which I sewed to the sides of the design.

Then I cut off the excess fabric from the top and bottom.

Next I pressed the seams open.

I then sewed on a piece of white ric rac down the length of each strip of fabric (but I forgot to take a picture of that part…oops!)

Next I picked out a different piece of coordinating fabric and sewed that to the back, with right sides together. I left one side open for turning.

After turning the piece right side out I stuffed it with fiberfill and used a chopstick to push the stuffing into the corners.

Then I finger pressed the side seams to the inside and held them together with Wonder Clips. The next step will be to hand sew the opening closed. I probably won’t be able to do this for a few days because this week is going to be crazy with doctor visits and other appointments. I’ll post pictures of the finished result when I’m done! And in the meantime I will look for my next project.

XXX
Carrie


Trick or Treat (In November!)

Posted on

I forgot to take progress photos after completing the words Trick Or Treat, so this has been a work in progress for a while now. Working on this project has been so much fun and it was such an easy stitch for a change. I have tried taking the project into a dark room to check out the glow in the dark fabric but it is a pretty dim glow. I have no idea how long ago the fabric was made and if the glow aspect fades over time. So I am a bit disappointed with that, but if I ever want to stitch the other 3 designs in this series I wouldn’t have anything except plain white Aida to stitch them on, anyway.

My plan is to frame this in a wooden hoop that I paint either black or orange and then wrap ribbon of the opposite color around. I’m not sure if we have any of those plastic spider rings laying around the house, but it would be cute to finish it off with one of those!

This design was created by Emma Congdon and it can be found in the October 2019 issue of Cross Stitch Crazy magazine. (And while you’re reading the magazine, find mention of my mason jar tutorial on page 67!)

XXX
Carrie


Santa’s On His Way

Posted on

My newest project is a Bent Creek Zipper Kit, called Santa’s Reindeer. This is my progress for the last couple of days.

This is going to be much larger than I expected. The fabric is supposed to be 18 count, although I checked it in several places and it is definitely 20 count. But it is to be stitched over 2 threads, so I am ending up with a 10 count project. I was thinking this would be small enough to make into a small cushion to use as an ornament or decoration but I don’t think that will be the case. At any rate, I am loving this project. The counting is so easy and the pearl cotton makes this one stitch up so much faster! There is no separating of floss and because it is only one strand it is not tangling or knotting at all. There is also large areas of one color, which I love. My brain fog has been so bad lately that counting is difficult, and my hand pain makes it hard to hold onto anything, such as bowls and cups, my phone, and embroidery hoops. I love that my sit-on stand has a hoop adapter so I can stitch hands free!

XXX
Carrie