Mason Jar Tutorial

Posted on

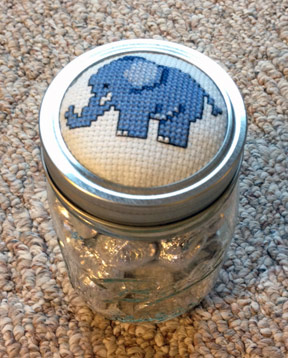
I decided to turn the small elephant into a Mason jar to fill up with candy for one of Adrienne’s preschool teachers. Having never done this before, I had to kind of play it by ear. Here is how I did it, although there are probably many other ways it can be done.

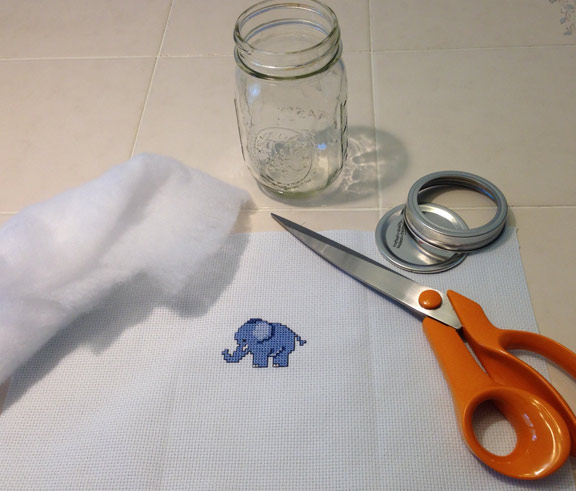
First, assemble your supplies: the finished stitching, a Mason jar with lid and ring, scissors, fiberfill stuffing, a pencil, Elmer’s glue, and a hot glue gun.

jar1

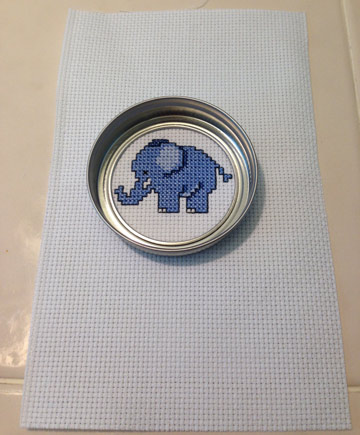
Center the ring over your stitching to make sure that it fits. As you can see from the photo, my elephant just barely fit inside. Using the pencil, lightly trace around the outside of the jar ring. Cut out your stitched piece, cutting on the pencil mark.

jar2

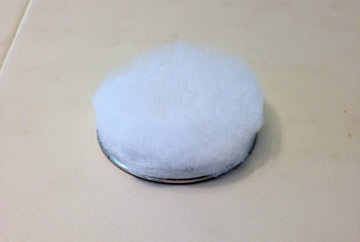
Use the jar lid (not the ring) as a template to cut out several circles of fiberfill. Glue the fiberfill circles to the top of the lid. Elmer’s glue will probably work better for this than the glue gun. The more fiberfill, the puffier the end result. Of course, you can skip this step altogether if you want your stitching to be flat against the lid.

jar3

Unfortunately, I forgot to take a photo of this next part. Put your cross stitched circle into the ring and make sure that it is centered. Put the fiberfill/lid inside the ring so that it rests on the stitching. Look at it from the right side – the design should be centered and the fiberfill should make it puff up. When you are happy with it, take the pieces out. If your circle of fabric is too large and and the edges are not laying flat in the ring, trim off the edges slightly. Spread hot glue all around the inside of the jar ring and press the stitched piece onto it. You will have to work quickly to make sure it doesn’t harden on you. Try not to use too much glue because the bumpier (thicker) it is, the harder it will be to get the lid to screw onto the jar. Then put hot glue on the edges of the lid with the fiberfill and press that onto the stitched piece.

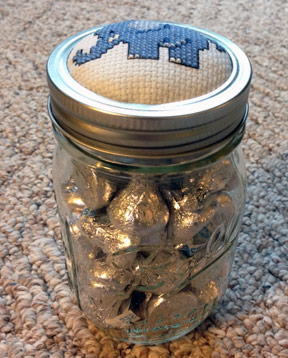
After your lid has been glued, attach it to the jar. It will only screw on if you have pushed it down all the way and don’t have any excess fabric showing. If you do have excess fabric, you should be able to cut it off using an X-ACTO knife. I had little bits of fiberfill coming out that needed to be trimmed off. Let the lid sit on the jar for a while to make sure the glue is dry and hardened and the stitching is pressed into the lid tightly. Then, you can unscrew the lid and fill the jar with goodies – in this case, Hershey Kisses!

jar5   jar4

XXX
Carrie


Time for this stitcher’s name!

Posted on

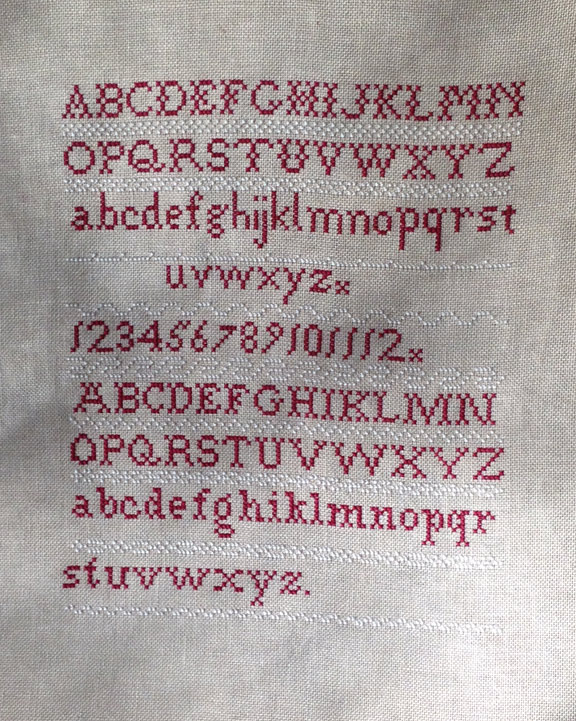
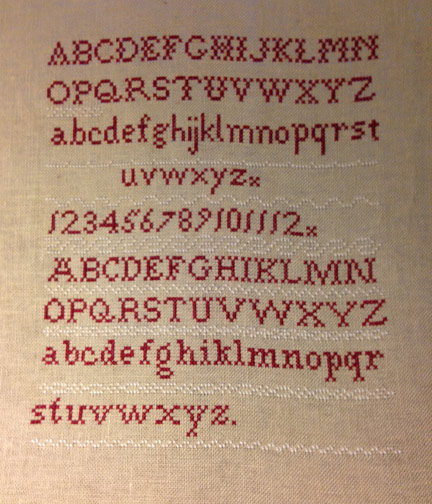
All of the regular stitching is done on this, including the white borders that were so hard to do except in sunny daylight. All that is left is the stitcher’s name and date. I looked through my family tree on ancestry.com and found several women who could have made a sampler like this, and then just had to decide which one to use. In the end, I decided on Margaret Winzenried, my second great grandmother on my mother’s side. I had wanted to use Elizabeth Feaster, also a second great grandmother, but she was born in Virginia. I looked at antique samplers from the time period in that area of the country, and they were quite different from this design. On the other hand, Margaret (Maggie) was born in Ohio and samplers from there often had simple alphabets like this one. If I find a suitable sampler with a large brown house on it, perhaps I can stitch that one for Elizabeth. (Google antique samplers Virginia and you will see what I mean.)

sampler7

This sampler looks like it is already well worn, but it is actually just due to taking the picture late at night! The shadows aren’t there in the actual piece. When I am done I will have some distressing to do to it. Unfortunately, the fabric was so badly wrinkled that when I wet it to iron it, most of the “staining” came out. This would have been the perfect already-distressed fabric if that had not happened. I was given the fabric from an acquaintance, so I don’t know what it cost her. I do know, however, that R&R Reproductions fabrics don’t come cheap. When I use the rest of it, I will have to remember not to wet it when ironing.

XXX
Carrie


Finishing the Owl

Posted on

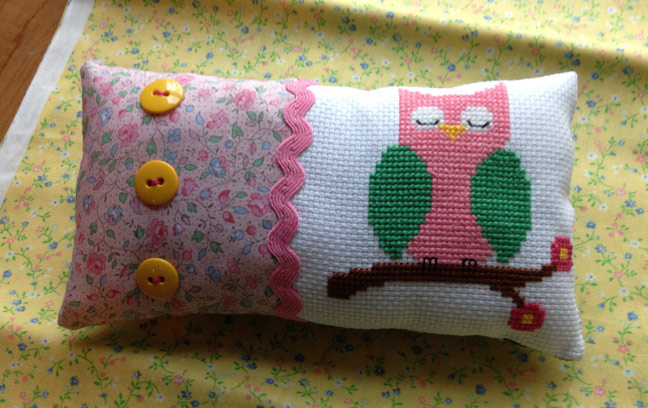
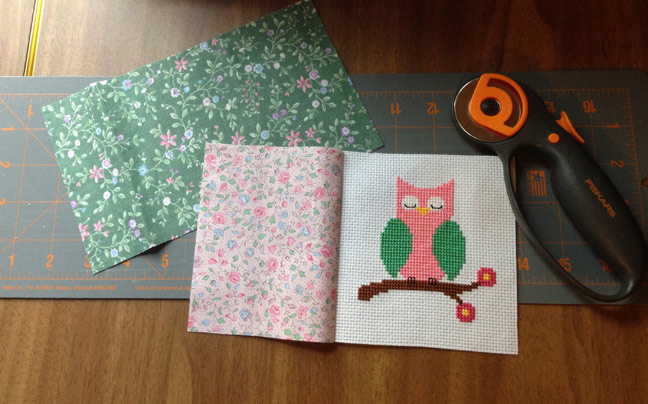
I have decided to make the owl into a mini cushion. I sewed the cross stitch part onto a piece of calico fabric and cut the backing from a different color and pattern. Tomorrow when I go to town I will find some rick-rack or other trim that matches, and possibly some buttons, to add to the front. I will attach these before I sew the backing on and stuff the cushion.

owl4

XXX
Carrie


Elephant

Posted on

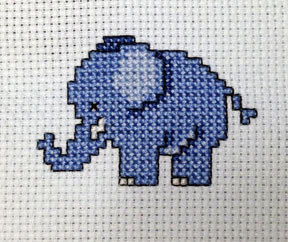
elephant2Finished! This cutie only took a couple of hours and was fun to stitch. I think it is just the right size for a Mason jar lid, so I think I will finish it off that way and then put some M&Ms or other goodies in the jar for Adrienne’s teacher.

XXX
Carrie


Owl completed

Posted on

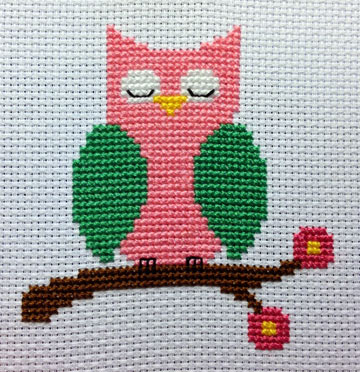
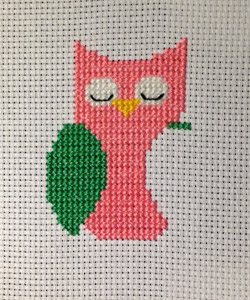
Here is the third and final day of stitching, Monday. The owl is complete! I think it turned out really cute. I used 14 count white Aida and three strands of DMC floss to make it really “pop”. Now I just have to figure out how I want to finish it. I am thinking of making it into a mini cushion with some vintage fabrics. An excuse to go shopping! I think I will check out Pinterest and Google images for inspiration.

owl3

XXX
Carrie


For the Teacher

Posted on

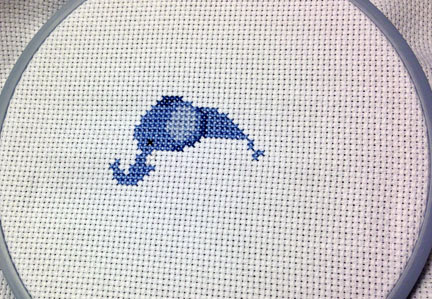
My daughter will be graduating from preschool at the end of the month and I have decided to cross stitch gifts for her two teachers. One loves elephants, which just happens to be my daughter’s favorite animal as well. I wasn’t sure what to stitch for her other teacher, though. Then Adrienne told me that she loves owls, so I was on a quest to find a cute owl chart. I found lots of charts in my stash, but they were either way too big, the wrong subject (an owl with a bandaged wing and the saying “get well soon”? I don’t think so!) so I searched online. I found a picture of an adorable already-stitched owl but unfortunately didn’t know who made the chart. It was quite a simple design, though, so I just got out some graph paper and used the photo to see where to put each stitch.

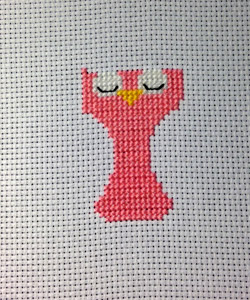
Here are the progress photos for Saturday and Sunday.

owl1     owl2

Hopefully this will only take another 2-3 stitching sessions to complete. Once it is done, I will start on the elephant. I am not quite sure yet how I will finish them off. Frame? Mini pillow? I guess we’ll just have to see.

XXX
Carrie