Hoop Finishing Tutorial

Posted on

Today I am going to show you how I finish my cross stitched projects in an embroidery hoop.

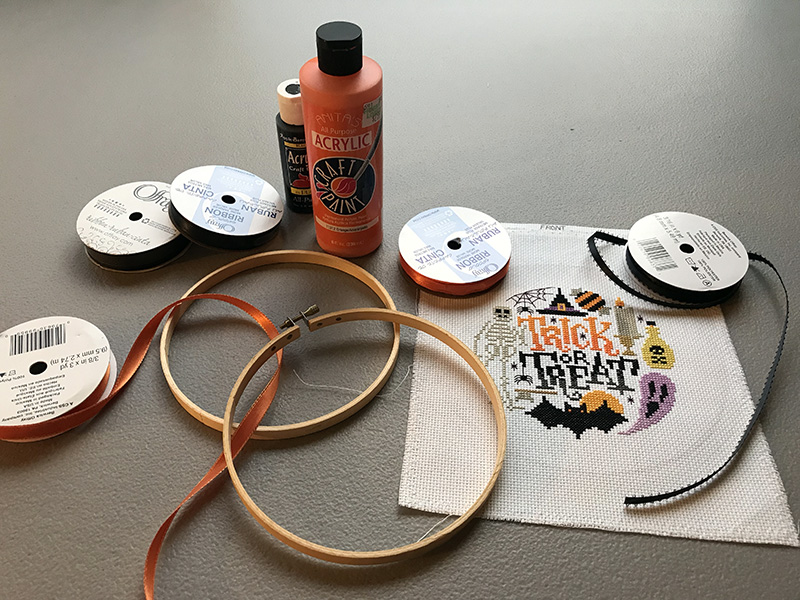
First, gather your materials. You will need paint and a paintbrush, or a paint marker such as a Posca pen. When using paint I like to use the small bottles of acrylic craft paint and a wooden handled sponge applicator instead of an actual paintbrush. Cover your work surface.

You will also need felt that matches the color of your fabric, ribbons and other embellishments, scissors, and a hot glue gun.

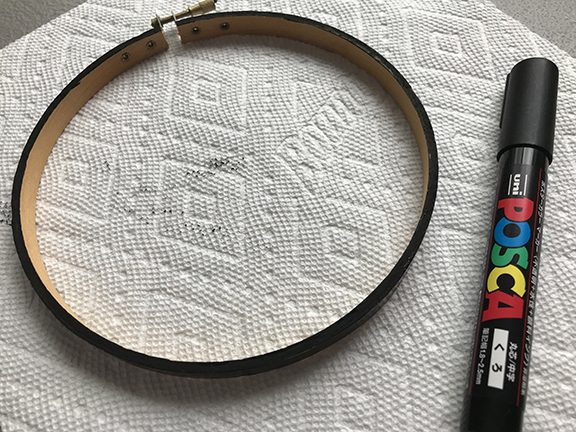
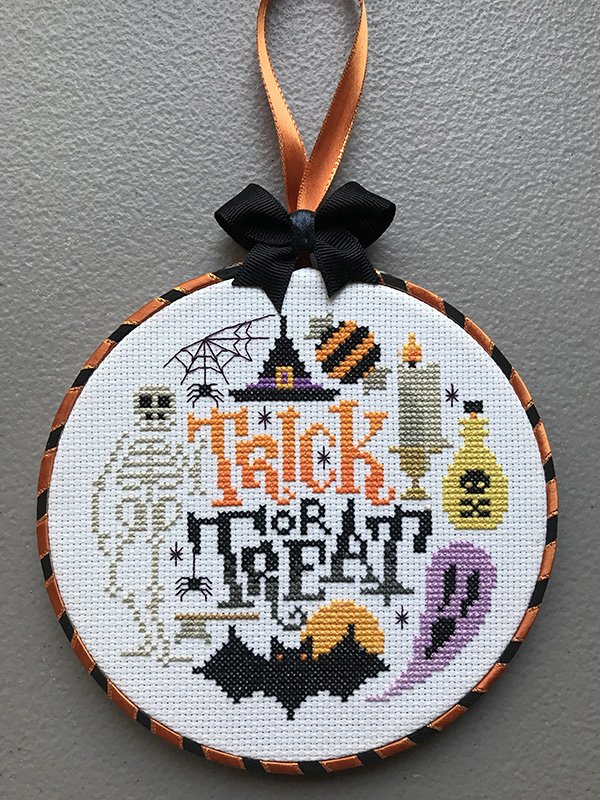
Carefully paint the outer hoop only, using thin coats of paint. It is better to let the project dry and then add a second or even third coat, rather than trying to paint on one thick coat. Try not to get paint on the inside of the hoop, but be sure to paint the outside edges. You will probably need to do one side, let it dry, then do the other.

If you want to wrap a decorative ribbon around the hoop, follow the next step. If you will be painting your hoop only, you can skip this part.

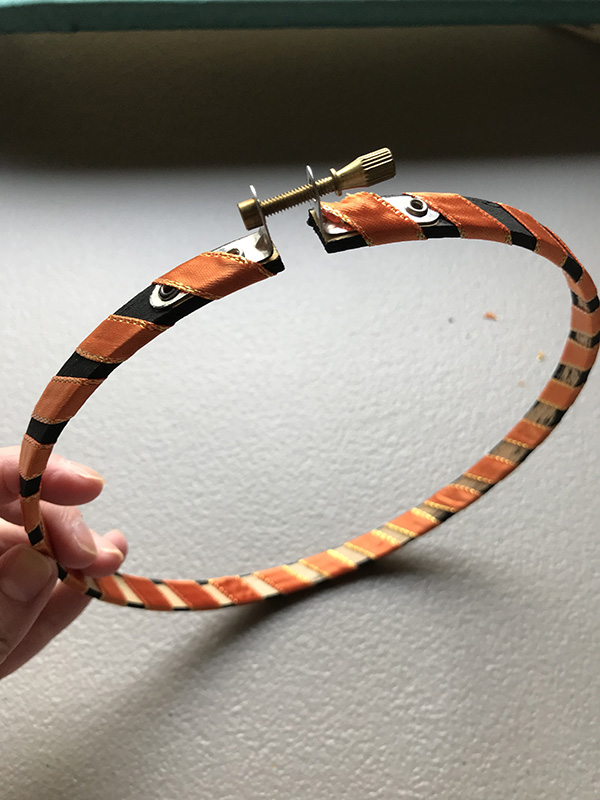
Add a drop of hot glue to the top of one side of the hoop and attach your ribbon at an angle. When it is dry, cut off the edge to be flush with the hoop. Slowly wrap the ribbon around the hoop, leaving a gap so the contrasting paint color can show. Add a drop of glue on the underside of the hoop only, about every other wrap. Use only as much glue as needed to ensure a secure hold. Too much glue will be messy and bumpy.

When you get to the other end of the hoop, add a drop of glue to the end and trim off the end just like you did when you started.

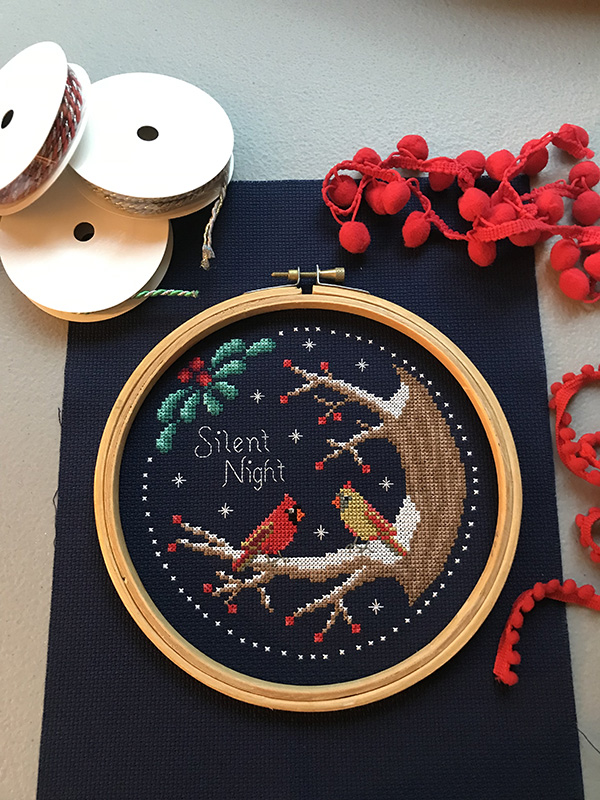
Place your finished cross stitch project in the two hoops and tighten it, being sure the design is centered and the fabric is taut.

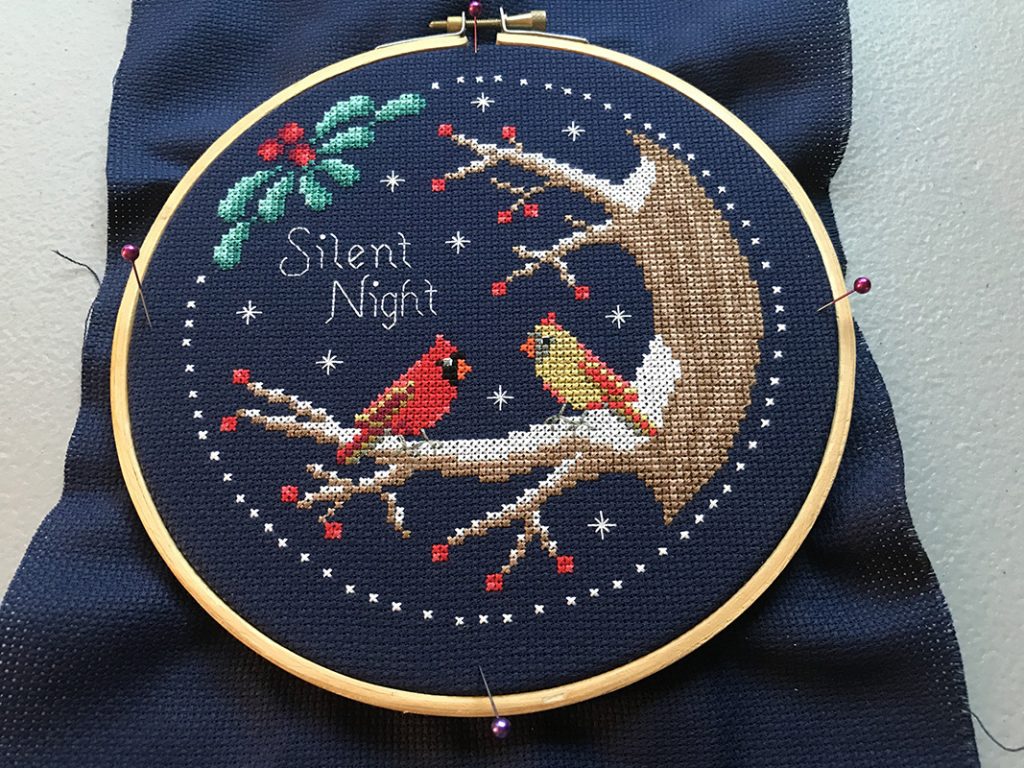
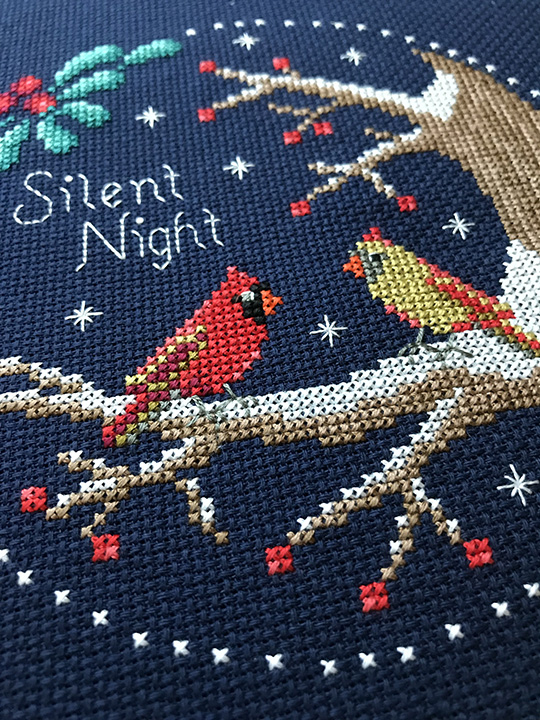
If you find it difficult to get the hoop exactly centered, as I did on this Silent Night design with a circular stitched border, lay just the top hoop on the fabric and use pins to mark the four sides. Count an equal number of stitches from the sides of the stitching and keep moving the pins, one Aida block at a time, until you have an equal number of empty stitches on all four sides, as shown below.

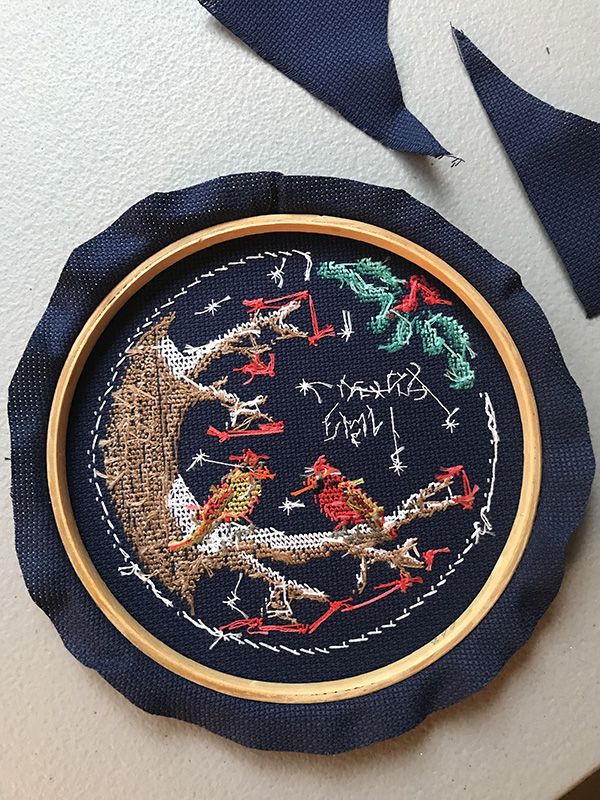
Cut the excess fabric away from the hoop. You want to leave just enough fabric to be able to wrap around the hoop and glue down to the inner sides of it.

Carefully fold the cross stitch fabric over the inner hoop and hold it in place with hot glue. Continue this process around the entire hoop. You want to be sure that the fabric you are folding over isn’t so big that it lays on the back of the stitched piece, to avoid a bulky finish.

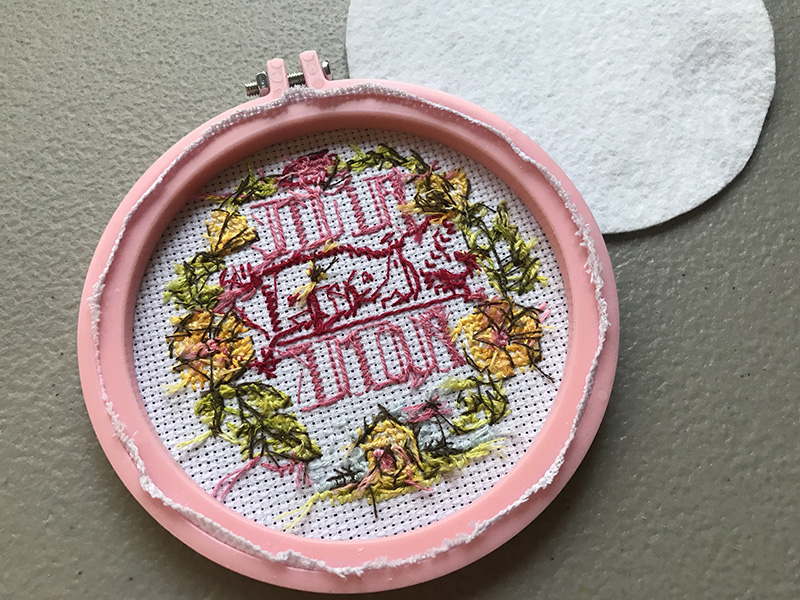
Sometimes you won’t have much excess fabric at all, such as with this free cover kit that came with an issue of The World of Cross Stitching magazine. When this happens, it may be easier to trim all excess fabric off after the project is in the hoop.

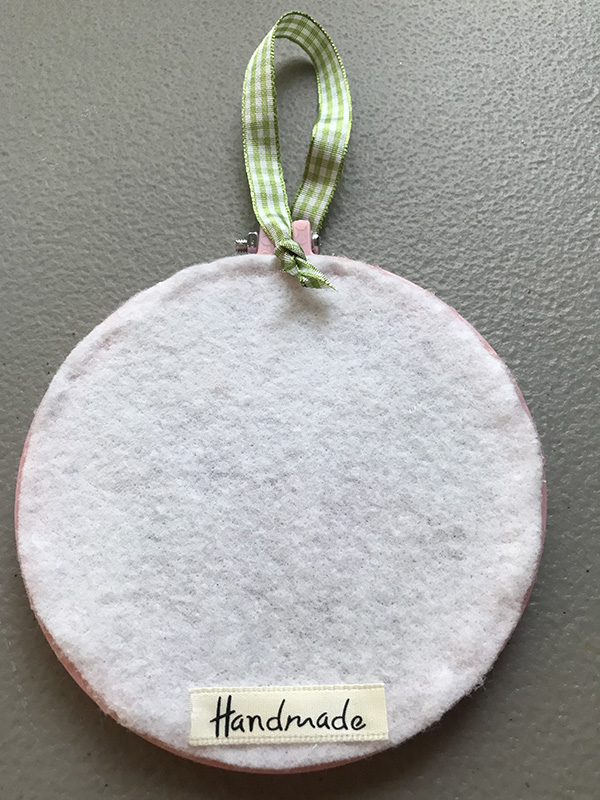
Next, cut a circle of felt the same color as your cross stitch fabric and glue it around the edges of the back of the hoop. You can also add a second, slightly smaller smaller piece of felt directly to the back of the stitching, and this will help the design not be see-through if you are hanging it in a window where sunlight will shine through it. I would caution against adding glue to this piece, however. I try not to let glue ever touch my stitching, as it can yellow over time.

Once your felt is added to the back, you can add a cute label, if you wish. This label was cut from a piece of ribbon that was added with just a touch of hot glue.

Add a ribbon for a hanger and then you can add other embellishments like a bow, other ribbons, small greenery, pinecones, buttons, etc.

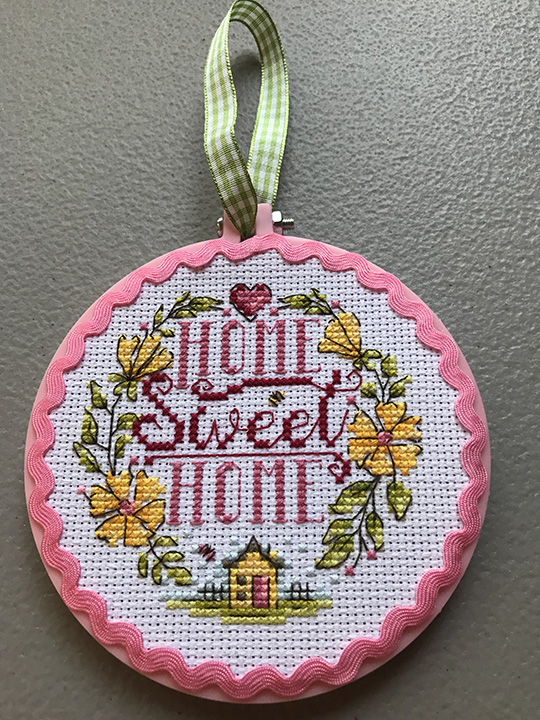
You can also finish off a plastic or painted wooden hoop with ric rac, as shown below. I started at the top and added a drop of hot glue, then pressed the ric rac in place. I curved the trim around the hoop and put a drop of glue every other top curve in the ric rac.

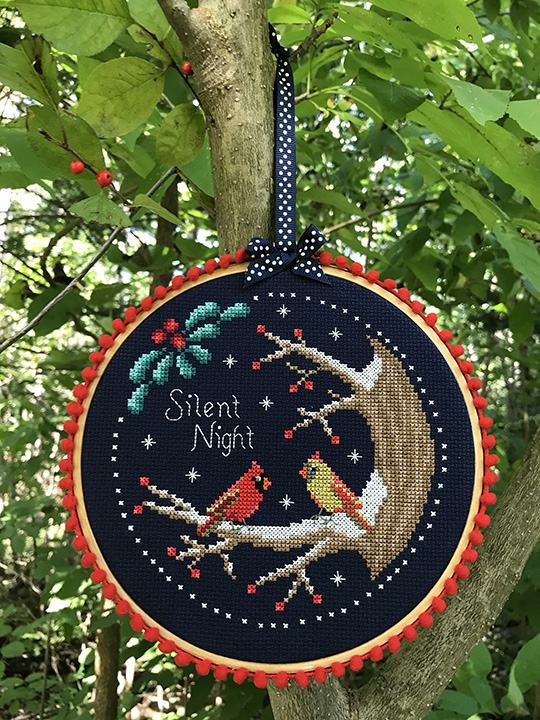
Pom Pom trim also makes a cute addition to your hoop finishing. I added it to a natural wooden frame that I did not paint, below. I used hot glue to add the trim on the outside edge of the outer hoop, making sure the pom poms were facing toward the stitched front.

What fun finishing designs can you come up with?

XXX
Carrie


Two finishes

Posted on

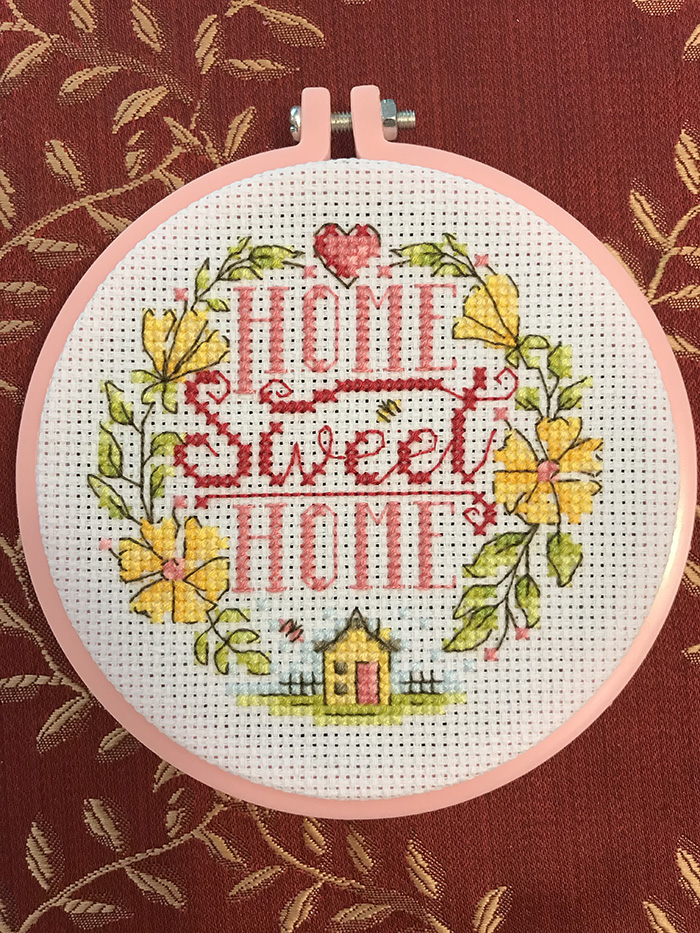
I finished up the stitching on the cardinals and decided to frame it and my recent Home Sweet Home design. The Home project was already framed in a hoop that came with the kit, but I wanted to dress it up a bit. So I added pink ric rac to the front edge, and a gingham ribbon hanger.

The cardinals were even more fun. I framed them in an old wooden hoop I had laying around (it was more rustic looking than new ones) and added red pom pom trim to the edge. Then I added a blue dotted grosgrain ribbon hanger and bow. It was so warm and sunny out (for September!) and I managed to get a nice picture of it outside. That’s one thing I am usually pretty lazy about; I tend to just grab my phone and take a picture of my finished pieces wherever they are laying (see above!)

I think these both turned out so cute!

That is it for new projects, at least for a while. I need to get back to the Alice stitch a long, and I just have to finish that deer in the woods once and for all. So no new starts! But all cross stitching will probably be put on the back burner for a while. Now that school is back in session, I have to make up a batch of new masks for my kids to wear. I have already made a few for my son and although I sew them on a machine, my hands are hurting from the process of cutting the fabric, turning the masks right side out, and feeding the material through the machine. Even reading a book the other day was painful, trying to hold onto it. My grandpa had a saying, “don’t get old, it doesn’t pay”. He was so right!

XXX
Carrie


Home Sweet Home

Posted on

The most recent issue of World of Cross Stitching to land in my mailbox came with this adorable free cover kit that included its own plastic hoop! The hoop is used both during stitching and for displaying the finished piece. I don’t stitch too many of the cover kits from this magazine because I always have other things on the go, but this one really jumped out at me. I’m not surprised, since it was designed by Durene Jones. I just love her designs!

After the summer I have been having, I told my husband I needed to get away and relax, even if just for a short time. So we headed up to our cabin and I spent two days doing pretty much nothing. There is no electricity or running water, but there is plenty of peace and quiet and it’s possible to sit out in the sun – something I don’t dare try to do at home because the bugs are so bad. We do have solar panels at the cabin, and I have a daylight lamp that allows me to cross stitch inside. I got a bit of work done on this project, although my hands were paying dearly after about 30 minutes of stitching. I’m keeping my fingers crossed that when I see my doctor in October he will either let me go back on my arthritis medication, or he will have an alternative to try. My liver enzymes are trending down now, but at the moment it’s just too risky to go back on methotrexate. It has now been 6 weeks since I have taken it, and the past week or so my hand pain has been in full force, even when not doing anything.

I had opened this kit and sorted the threads before we left home, and it’s a good thing I did… there was no needle in the kit! If I had just taken the kit and magazine with me without looking at it first, I would not have known this and would not have been able to work on it. I then read something in another magazine that mentioned that they are doing away with the needles in these kits because so many stitchers have a large collection of them already, and by omitting the needle they can save money to make the gifts more substantial. They definitely did that with this kit, as they have never given out embroidery hoops that I can recall, at least not since I started subscribing in 2012.

So, lesson learned… from now on I will open any cover kit I get before I attempt to stitch it, to be sure I have everything I need!

XXX
Carrie


More Finishing

Posted on

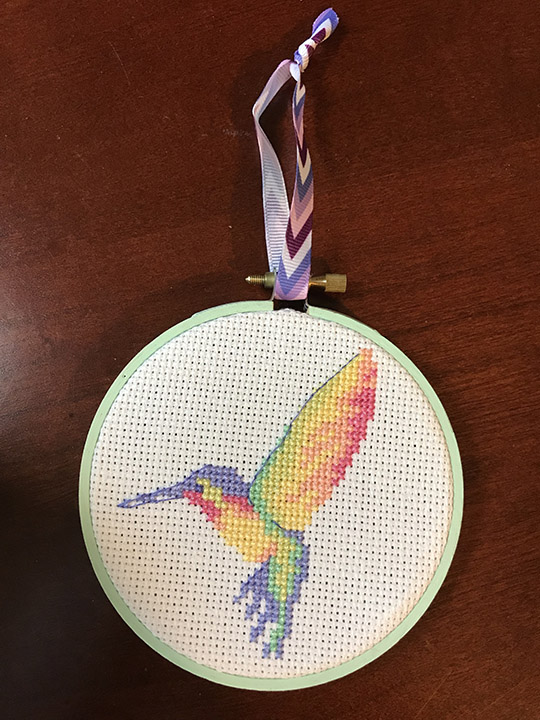
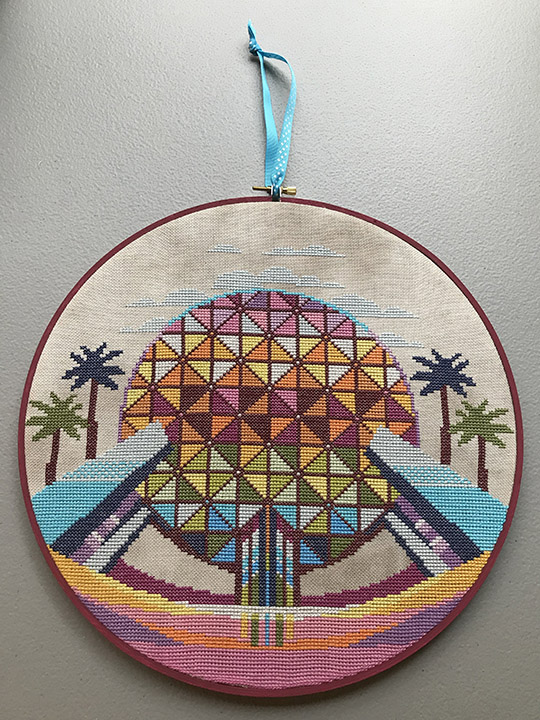
I decided to go through my box of stitched pieces and pick out some to FINALLY finish off. These two were stitched a year or two ago but I never did anything with them. I love the hoop finishing because it is quick and easy and allows me to hang projects in areas where I wouldn’t be able to hang a large framed piece. For instance, I have several hanging by suction cups on the window above my desk. I can change these out with the seasons or just whenever I want. To create these two, I simply painted a wooden hoop with acrylic paint and then strung a ribbon through the tightener at the top.

This little hummingbird was featured in an issue of CrossStitcher (I think). He was super fast to stitch up and I just love the colors. He is tiny – the frame is only 4 inches!

This is my happy place – Epcot! In particular, Spaceship Earth. The pattern is from Awesome Pattern Studio. This used a 12 inch hoop.

XXX
Carrie


Two Hoop Finishes

Posted on

It is a cold, snowy, miserable Saturday. Time to get going on finishing off two recent projects!

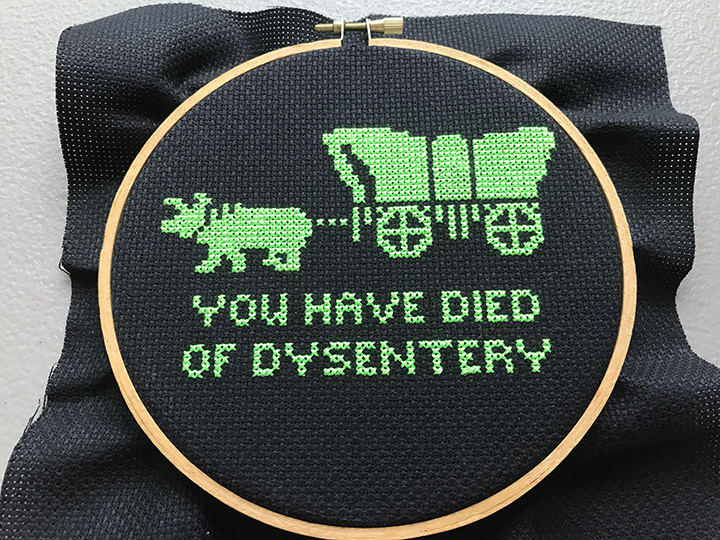
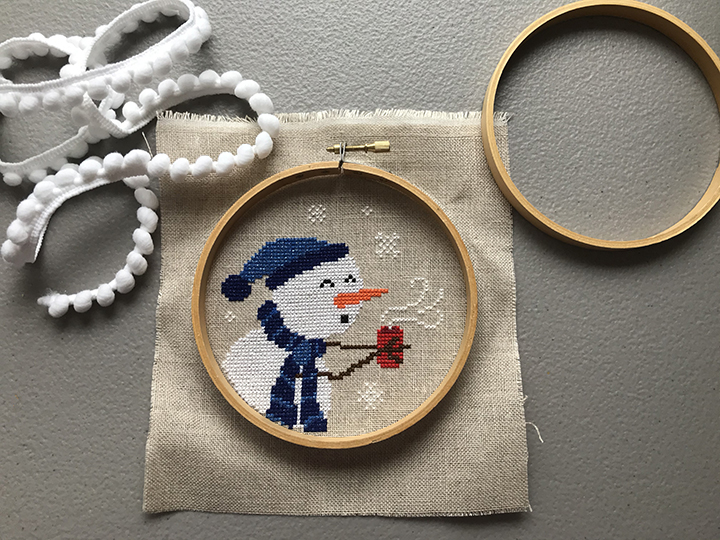
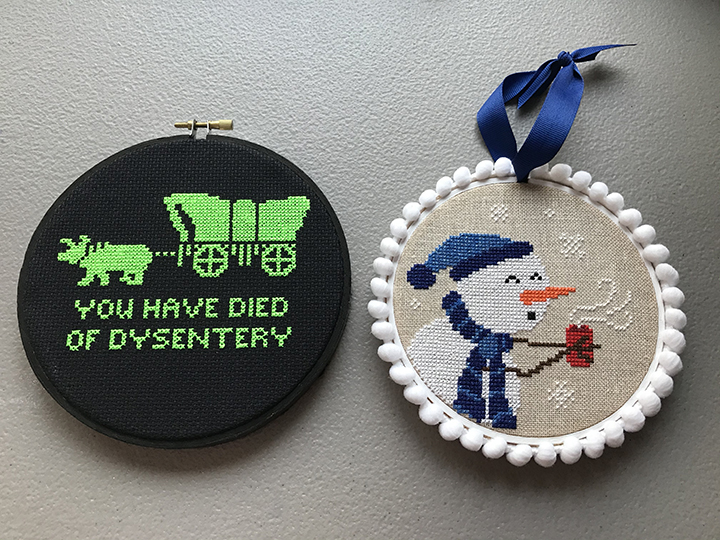
The Oregon Trail piece is going to be really simple – paint a hoop black and then display it in that. I want the neon green to jump out from the black and be the star of the show. For the hot chocolate drinking snowman, I want to frame it in a white hoop and add white pom pom trim to the edges to look like snowballs. None of this was actually my idea; it’s simply a copy of how the finished project appeared in the magazine (Just Cross Stitch December 2020). Although, they finished theirs off as a flat ornament, and did not use a hoop. They also used twisted cord or floss as the hanger and I plan to use a ribbon.

The first step was to use Posca pens to paint the hoops. They required about 3 coats each, but each coat only took a couple of minutes to be fully dry, unlike paint which would have taken a few hours total.

Then it was time to frame the pieces in the hoops. I cut off most of the excess fabric, then turned the fabric to the back and hot glued it in place inside the rim of the hoop. Then I cut a piece of felt the same size as the back of the hoop and glued it to the hoop, ensuring that everything was covered and the fabric that I had glued down didn’t peek through. I chose felt sheets the same shade as the cross stitch fabric so that when the hoops are hanging in a window the sunlight will not shine through. The pom pom trim was hot glued to the outside of the hoop and a hanger was attached using blue ribbon.

I absolutely love how these turned out! I don’t have a hanger added to the black piece yet, but I probably will go with something really basic that doesn’t take away from the overall design. I do like how the blue ribbon actually accents the snowman’s hat and scarf nicely.

XXX
Carrie


Gingerbread!

Posted on

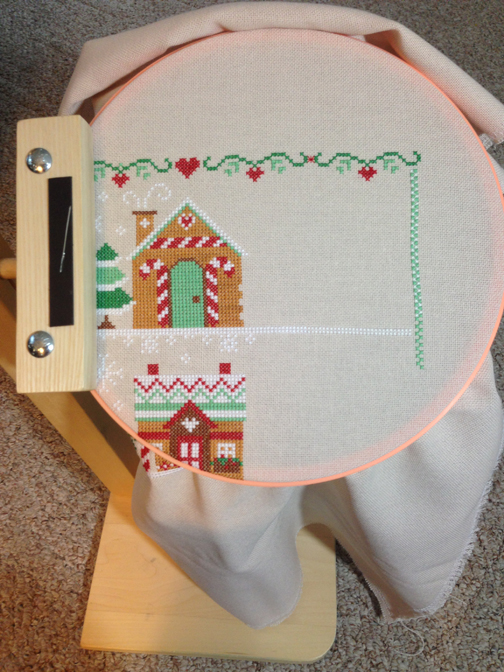
I switched over to my gingerbread houses project and am having a lot of fun with it. The color changes are very few, and there is no backstitching – yay! I got the top border done (minus the French knots, which I will do at the end) as well as a good amount of the side border. I won’t work on the rest of that until I have to move my hoop down. It is kind of annoying having to use a hoop for this project because the size scroll rods I need are being used on the mermaid project.

I really need to get my husband to make me a new set of dowels in the same size, so that I can have multiple projects of the same size on the go at one time. I am just happy that the sit-on frame I have came with an attachment to hold a hoop or Q Snap. So I can still use the frame and stitch hands-free. This is a must for me because the pain in my hands would never let me hold an embroidery hoop. The frame I have was purchased on eBay about 10 years ago and the company is no longer in business. It is called Stitch EZ cross stitch frame. It is such a great frame – it came with three sizes of scroll rods, a detachable chart holder, and a Q Snap or hoop holder. The sides of the frame and the Q Snap holder have magnets to hold your needles.

Next up is house #5!

XXX
Carrie