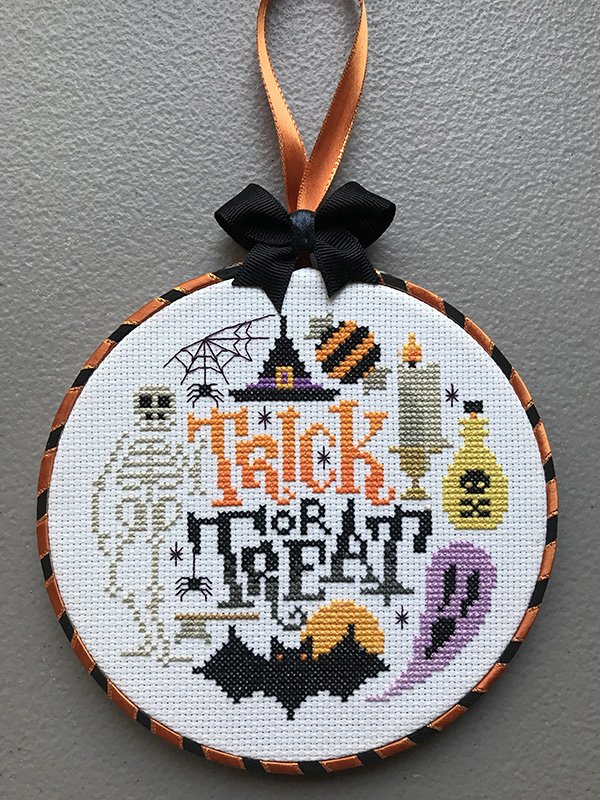
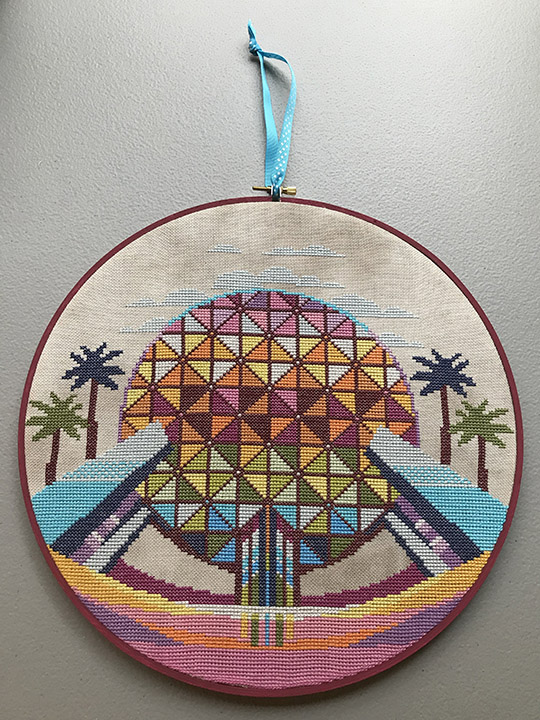
Today I am going to show you how I finish my cross stitched projects in an embroidery hoop.
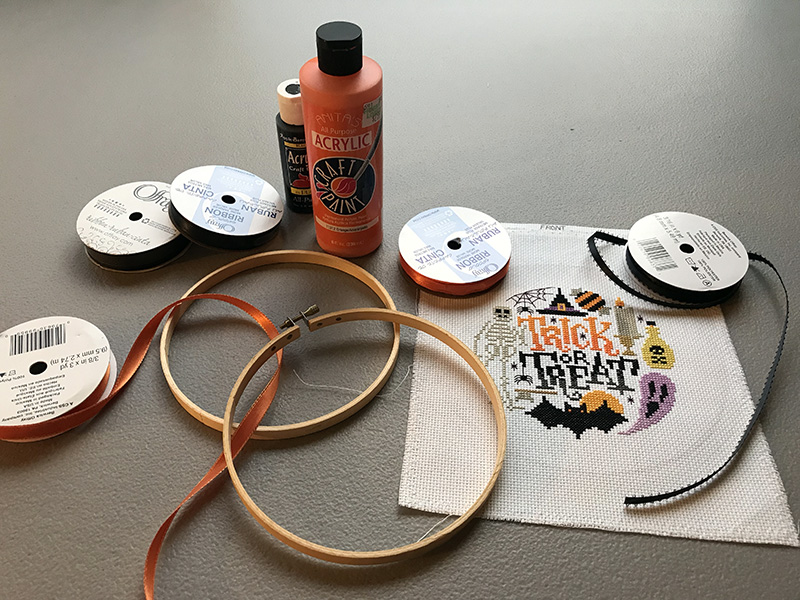
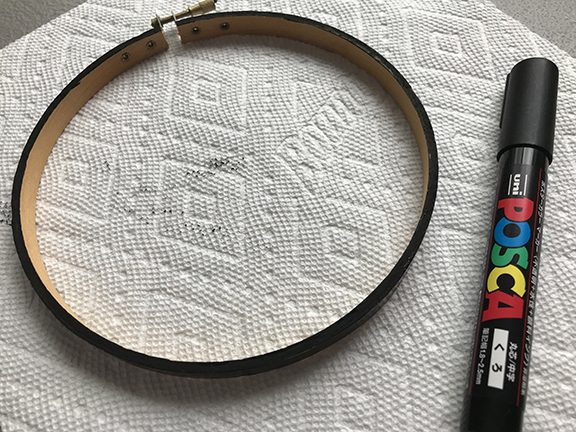
First, gather your materials. You will need paint and a paintbrush, or a paint marker such as a Posca pen. When using paint I like to use the small bottles of acrylic craft paint and a wooden handled sponge applicator instead of an actual paintbrush. Cover your work surface.
You will also need felt that matches the color of your fabric, ribbons and other embellishments, scissors, and a hot glue gun.
Carefully paint the outer hoop only, using thin coats of paint. It is better to let the project dry and then add a second or even third coat, rather than trying to paint on one thick coat. Try not to get paint on the inside of the hoop, but be sure to paint the outside edges. You will probably need to do one side, let it dry, then do the other.
If you want to wrap a decorative ribbon around the hoop, follow the next step. If you will be painting your hoop only, you can skip this part.
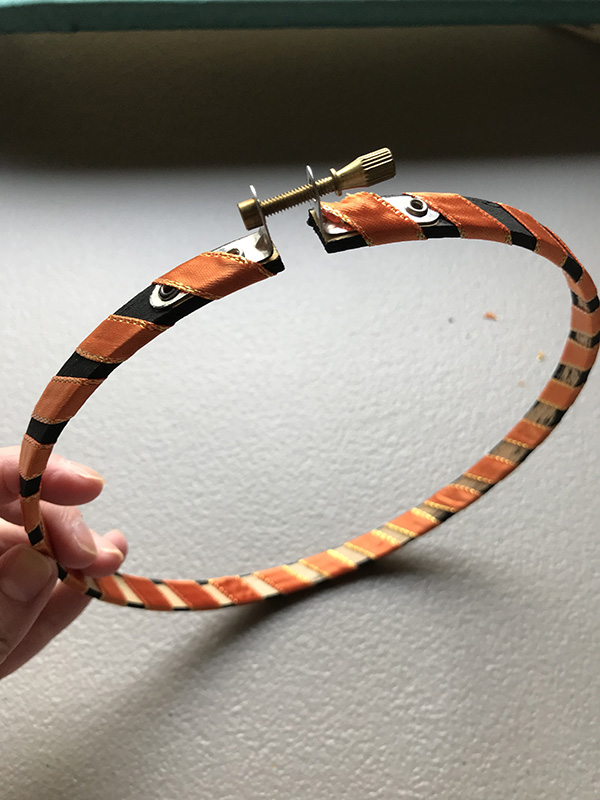
Add a drop of hot glue to the top of one side of the hoop and attach your ribbon at an angle. When it is dry, cut off the edge to be flush with the hoop. Slowly wrap the ribbon around the hoop, leaving a gap so the contrasting paint color can show. Add a drop of glue on the underside of the hoop only, about every other wrap. Use only as much glue as needed to ensure a secure hold. Too much glue will be messy and bumpy.
When you get to the other end of the hoop, add a drop of glue to the end and trim off the end just like you did when you started.
Place your finished cross stitch project in the two hoops and tighten it, being sure the design is centered and the fabric is taut.
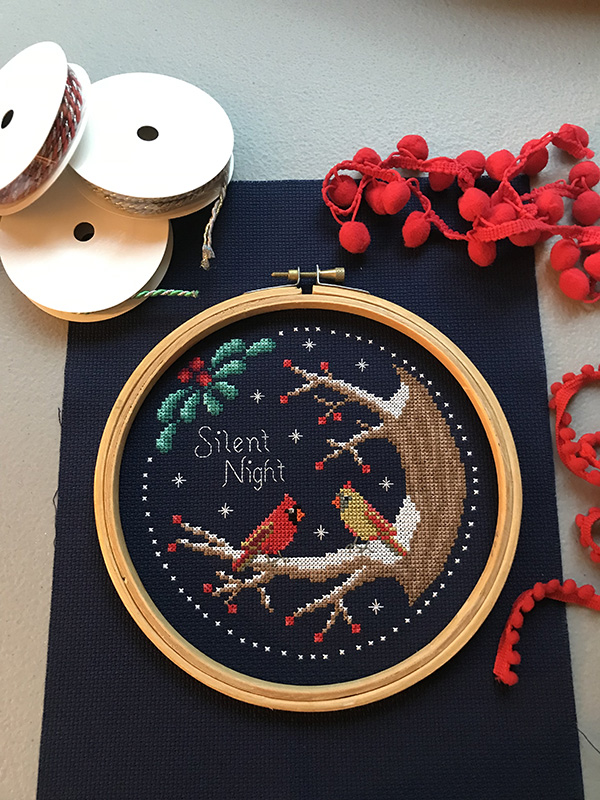
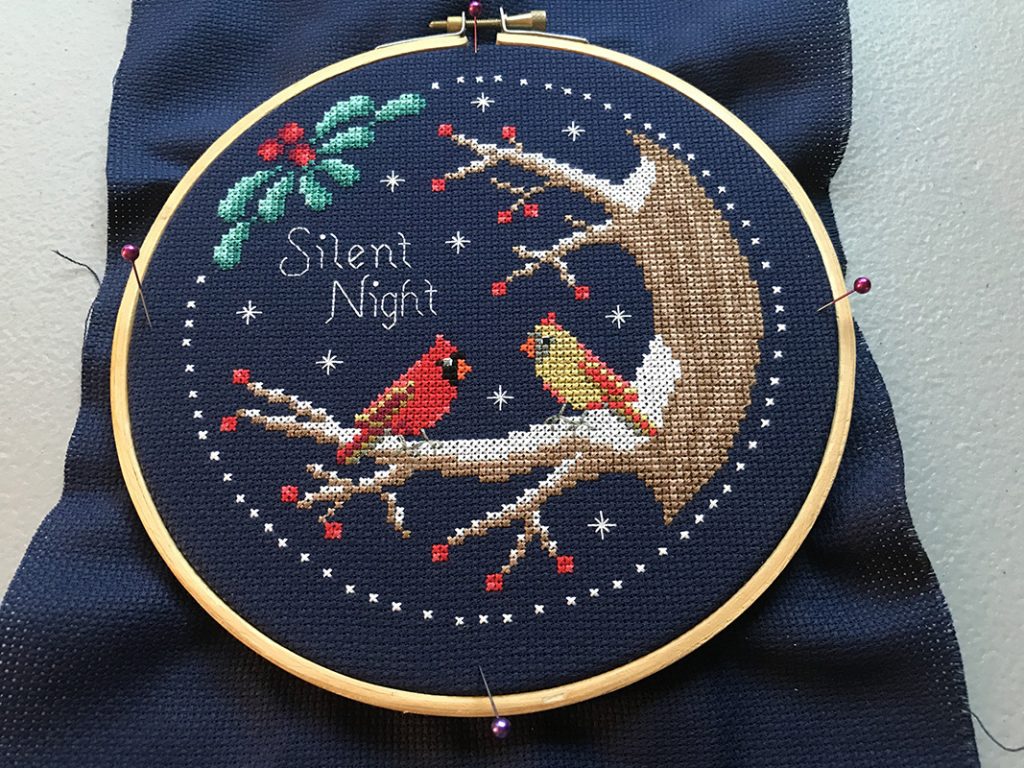
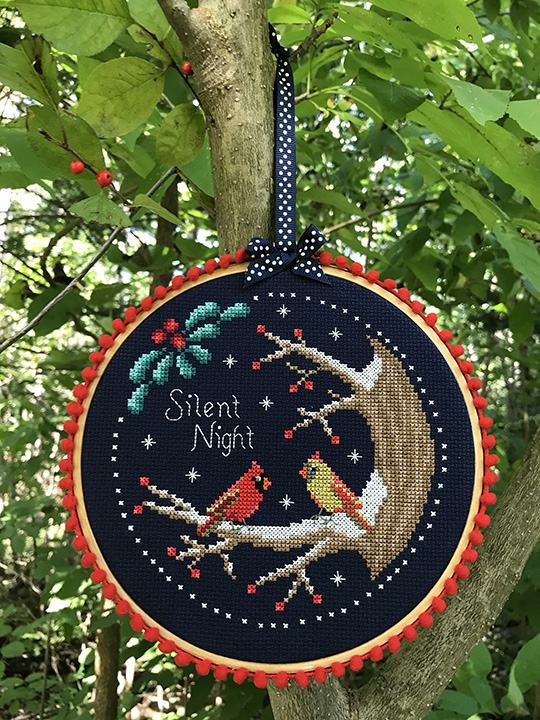
If you find it difficult to get the hoop exactly centered, as I did on this Silent Night design with a circular stitched border, lay just the top hoop on the fabric and use pins to mark the four sides. Count an equal number of stitches from the sides of the stitching and keep moving the pins, one Aida block at a time, until you have an equal number of empty stitches on all four sides, as shown below.
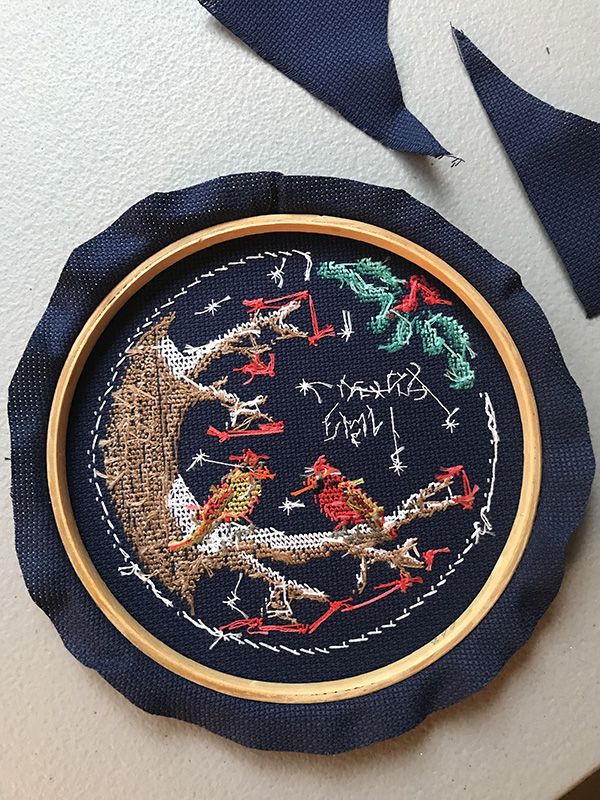
Cut the excess fabric away from the hoop. You want to leave just enough fabric to be able to wrap around the hoop and glue down to the inner sides of it.
Carefully fold the cross stitch fabric over the inner hoop and hold it in place with hot glue. Continue this process around the entire hoop. You want to be sure that the fabric you are folding over isn’t so big that it lays on the back of the stitched piece, to avoid a bulky finish.
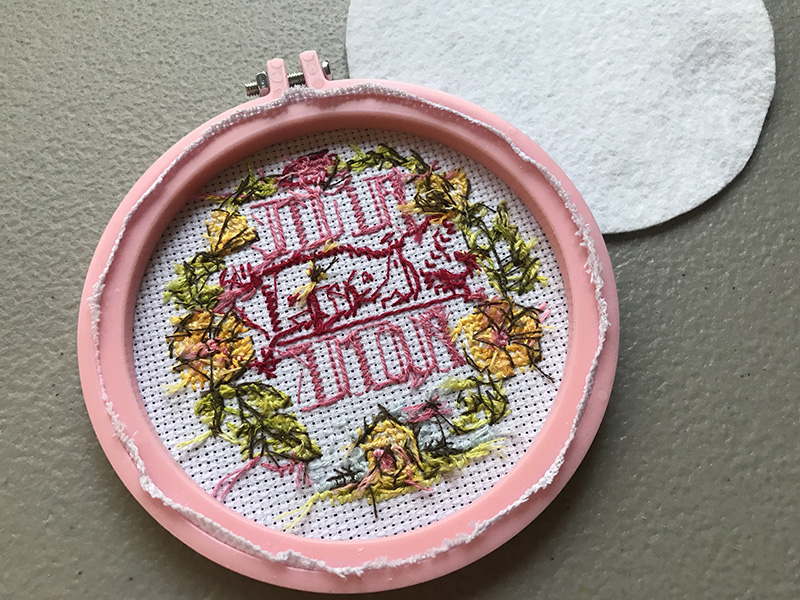
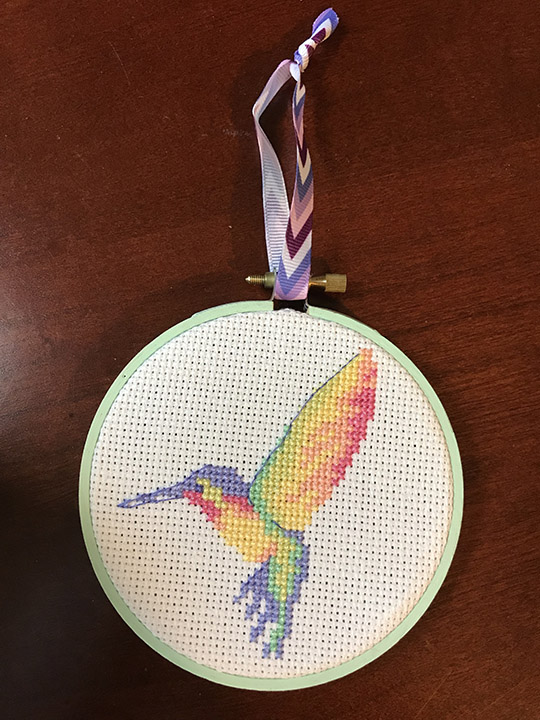
Sometimes you won’t have much excess fabric at all, such as with this free cover kit that came with an issue of The World of Cross Stitching magazine. When this happens, it may be easier to trim all excess fabric off after the project is in the hoop.
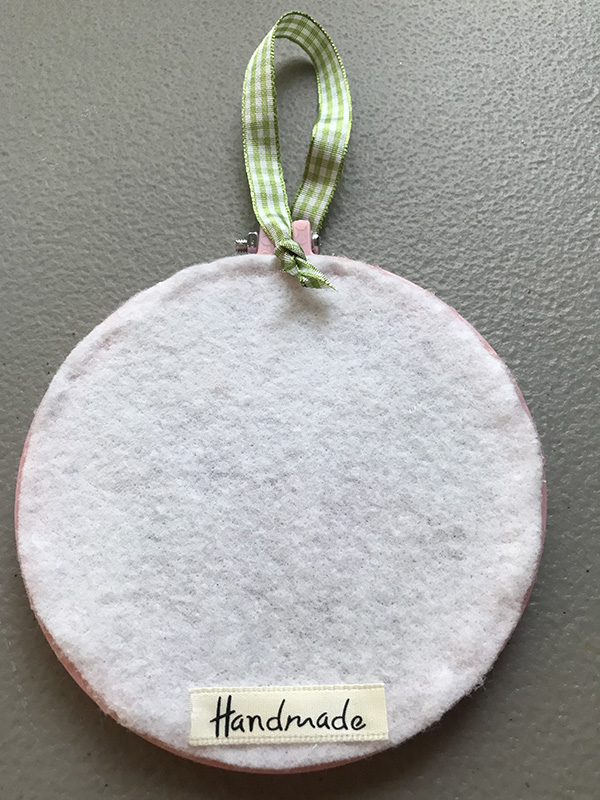
Next, cut a circle of felt the same color as your cross stitch fabric and glue it around the edges of the back of the hoop. You can also add a second, slightly smaller smaller piece of felt directly to the back of the stitching, and this will help the design not be see-through if you are hanging it in a window where sunlight will shine through it. I would caution against adding glue to this piece, however. I try not to let glue ever touch my stitching, as it can yellow over time.
Once your felt is added to the back, you can add a cute label, if you wish. This label was cut from a piece of ribbon that was added with just a touch of hot glue.
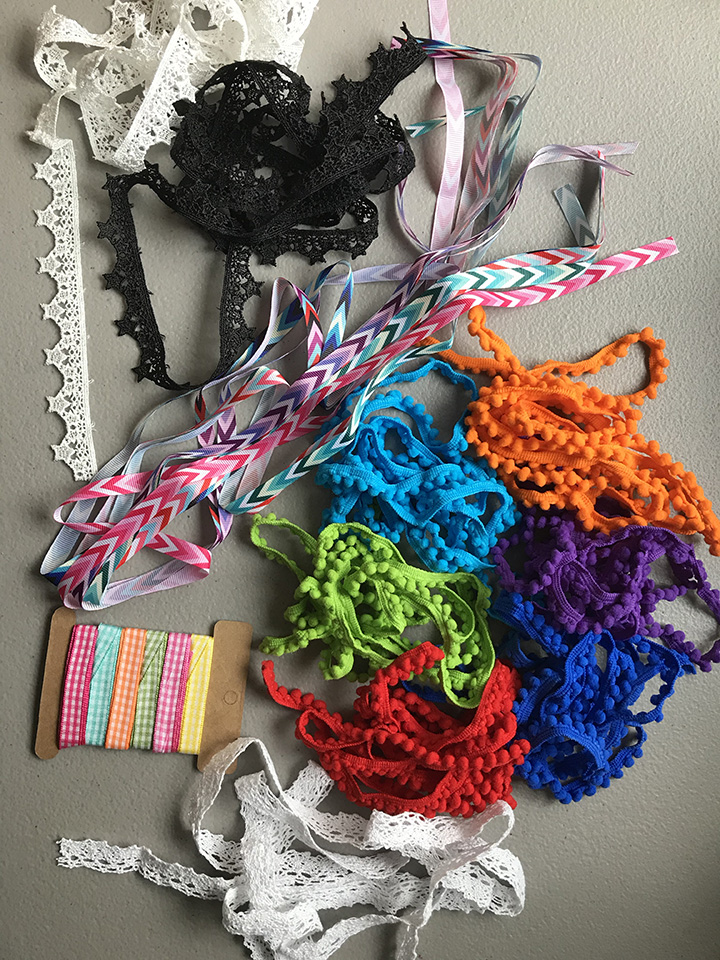
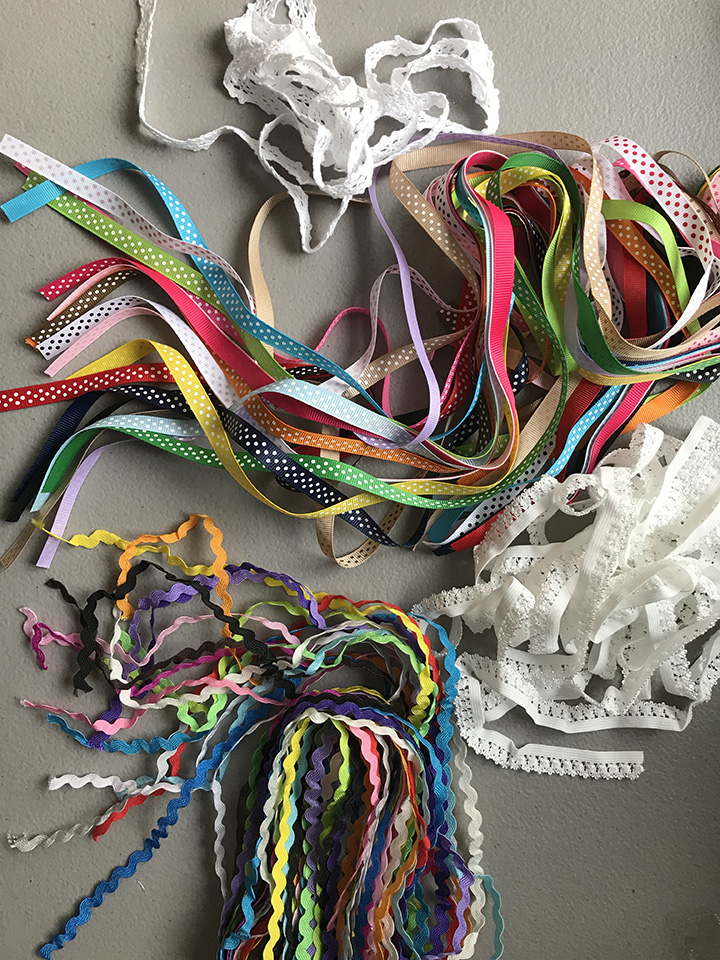
Add a ribbon for a hanger and then you can add other embellishments like a bow, other ribbons, small greenery, pinecones, buttons, etc.
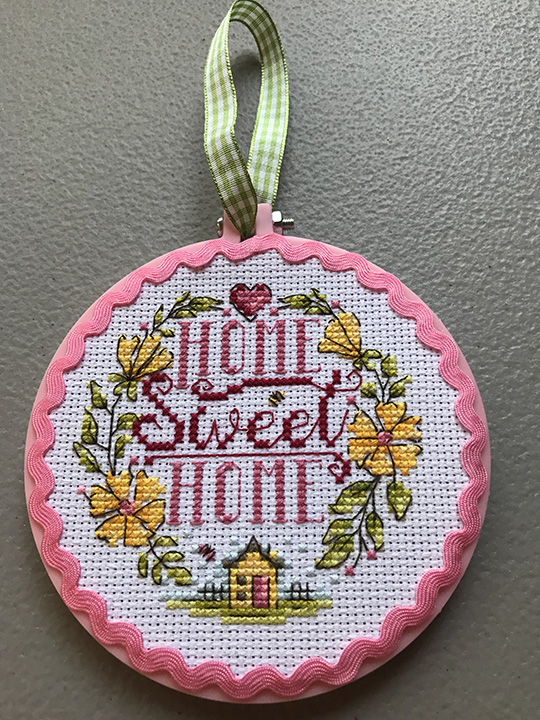
You can also finish off a plastic or painted wooden hoop with ric rac, as shown below. I started at the top and added a drop of hot glue, then pressed the ric rac in place. I curved the trim around the hoop and put a drop of glue every other top curve in the ric rac.
Pom Pom trim also makes a cute addition to your hoop finishing. I added it to a natural wooden frame that I did not paint, below. I used hot glue to add the trim on the outside edge of the outer hoop, making sure the pom poms were facing toward the stitched front.
What fun finishing designs can you come up with?
XXX
Carrie

