After seeing so many people online make their own dyed cross stitch fabric, I decided to give it a try. I looked up articles online and watched videos on YouTube, and combined the best tips and tricks from all of them to try it out myself. My first try was a big success and I am so happy with how my fabrics turned out. My daughter was so impressed (and it looked like so much fun) she begged to help me out with my next batch. The first batch I did consisted of fabrics that I have collected over the years from garage sales, grab bags, etc. They may have been dirty or musty smelling, had pet hair on them, were odd or small sized pieces, or were fabric counts I wouldn’t usually stitch on. I thought they would be a good test for the dyeing process and if it didn’t work out, I wouldn’t be out anything except for a bit of dye.
STEP I: WASH FABRICS
Note: You do not need to do this step if your fabric is brand new. I only washed my fabric because I did not know where it came from and some of it had obvious stains on it or came from a smoking household. Most of it was white but I did have one piece of a salmon colored fabric that I didn’t really care for, and decided I wanted to add darker pink and purple to it.

Put the fabric in a large bowl filled with warm water and a tiny amount of dishwashing liquid (such as Dawn). Agitate the fabric in the sudsy water and let sit for about 15 minutes. Agitate the fabric again and then take the fabric out and rinse it completely in clean water.
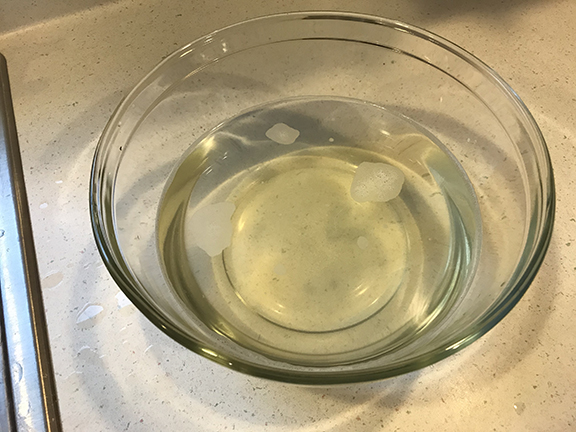
This is what my water looked like after I washed the fabric… yuck!
STEP 2: GATHER YOUR SUPPLIES
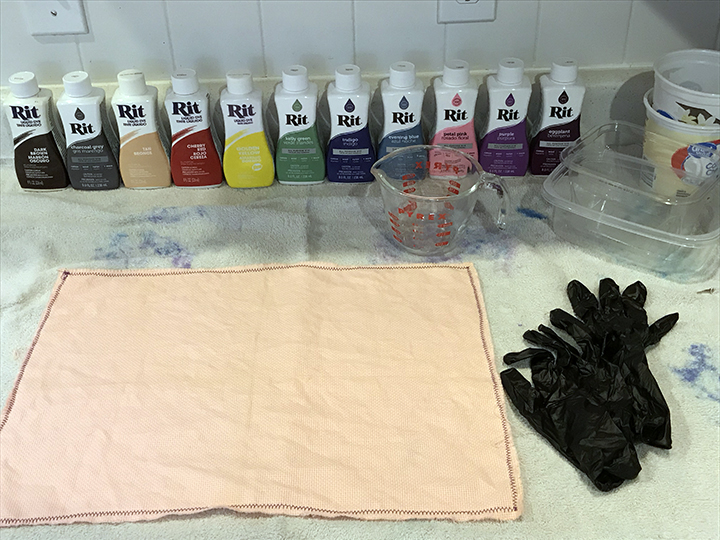
You will need some old towels that you don’t mind getting stained, gloves (either household rubber gloves or the disposable kind), plastic spoons, various sized plastic or glass containers, a measuring cup, a pot of very hot water (make sure it stays hot during the whole dyeing process), paper towel, your cross stitch fabric, and your dye. I used liquid Rit dye which can be purchased at grocery and craft stores. Save the powdered dye for when doing the ice dyeing method. Rit makes two kinds of liquid dyes, one for natural fibers and one for synthetics. Since you will most likely be dyeing cotton or linen, you will want the original Rit dye. Look for their special dye for synthetic fabrics if you are dyeing things like polyester.
It also helps to wear old clothes that you don’t care about, as you may get dye on yourself.
Note: DO NOT USE ANY UTENSILS/BOWLS FOR FOOD AFTER USING THEM FOR DYEING! Gather up some old or disposable items for this project. I used plastic spoons and various containers like yogurt and cottage cheese tubs and the plastic tubs that lunch meat comes in. Make sure if you are using plastic that it can withstand very hot (almost boiling) water. I learned this the hard way! Anything that is dishwasher safe should be good to use.
STEP 3: PREPARE FABRIC

Use a sewing machine or serger to either zig zag stitch or serge around the edges of your fabric. TIP: If you need to wash your fabric like I did above, you will want to do this before washing it. The fabric will unravel when it is handled or gets wet.
If you are using unwashed fabric, it will be dry. Wet it thoroughly and carefully squeeze out the excess water.
If you want to dye your fabric a solid color, make sure you use a large container to dye it in – it should be bigger than the piece of fabric. Lay your wet fabric down flat in the container so that the dye can cover the fabric evenly.
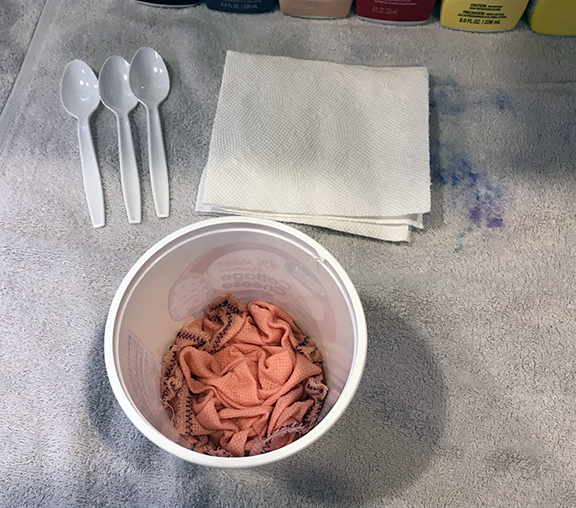
If you want the mottled effect, use a container that is much smaller than your fabric. Lay your wet fabric down on your work surface (covered with an old towel) and pinch it in the center. Carefully scrunch the fabric bit by bit all the way around, by pinching and pulling it towards the center of the fabric. Place it like this in the bottom of a small container. Use your fingers or the end of a spoon to make sure the fabric is nicely scrunched up all over. You want some areas to be on the bottom of the container to catch the most dye, and some areas to be peaked up at the top to not get as much dye.
STEP 4: PREPARE DYE
As you can see in the photo above, I started with a salmon pink color of fabric that I knew I would never use for anything. I dyed directly on top of this color to make a darker pink/purple color. You can start with fabric that is white, beige, pink, yellow, or any other light to medium color. Just make sure the dye you are using is a darker color. If you are using white fabric but want to dye it a solid color first and then do mottling on top of it later, be sure to use a large container to dye the initial fabric all one shade.
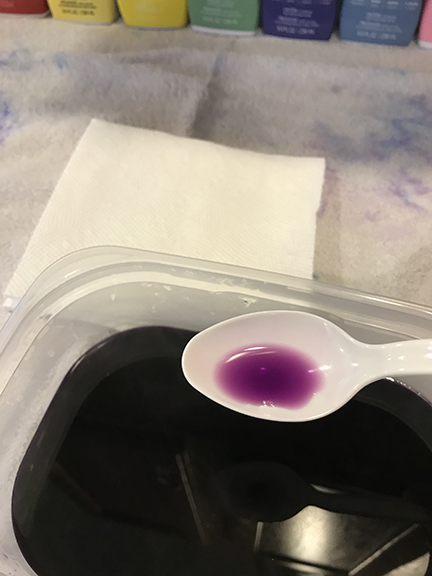
Scoop out one cup of hot water and put it into a separate container. Be careful, really cheap plastic containers will melt when you add the hot water! Shake well the Rit dye of your choice and add about 1 T of dye to the water. Stir with a spoon until thoroughly mixed. Take a small amount of dye on your spoon and let it drop onto a white paper towel. This will give you an idea of the shade. If needed, add more dye until you are happy with the result.

STEP 5: DYE YOUR FABRIC
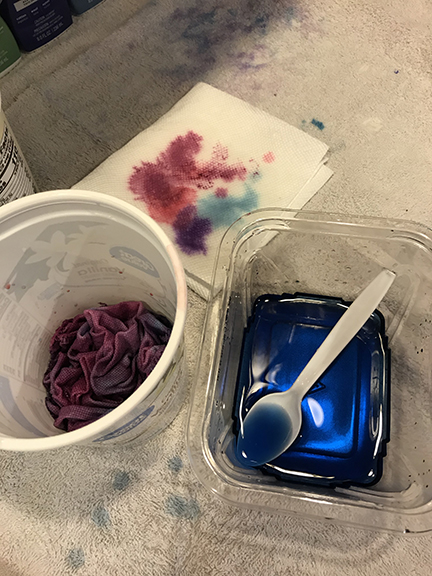
Carefully spoon out some of the dye and pour it onto your fabric.

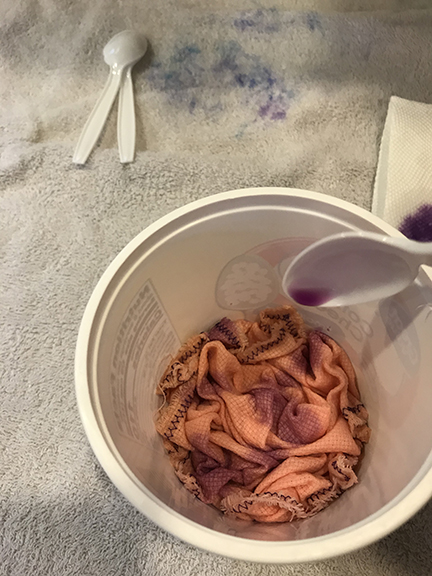
Keep spooning the dye over the fabric until you think you have added enough. To get a nice mottled effect, add more dye to some areas and less to others. Anything that is sticking out on top will have the least amount of dye. Use the spoon to poke the fabric and make sure that the nooks and crannies are filled in. With this fabric, I did leave parts of the salmon color un-dyed since it was already a solid color. If your fabric is white and you don’t want any white spots showing, make sure you take the time to poke around at the fabric and ensure that no white is showing. Clear containers are nice because you can look at the bottom and sides to make sure no white is showing. Do not add too much dye. You do not want the fabric swimming in dye. The top of the fabric should not be submerged. You can pour off excess dye back into your dye container (or the sink) if you think you added too much.
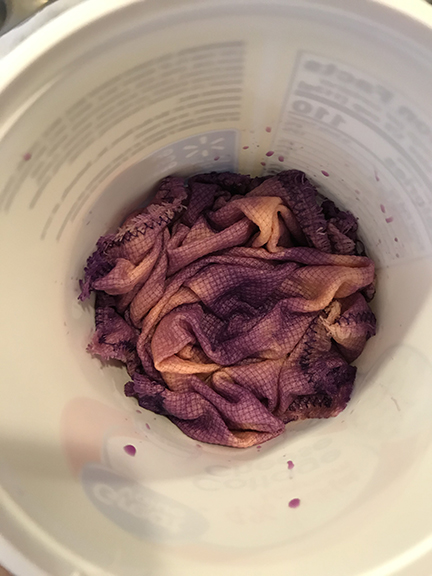
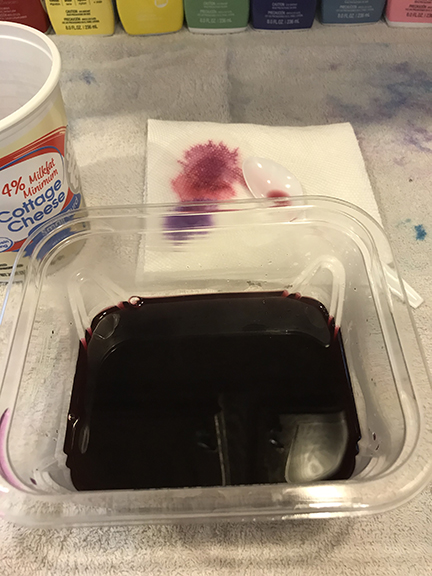
If you want to add more than one color of mottling, prepare the additional colors the same way you did with the first, using separate containers for each. Make sure your pot of water is still hot. If you keep it simmering on low, it should stay hot for you. If you turn the burner off completely, the water will cool down quicker than you think. You can also use the same (original) batch of dye and add more color to it to make it darker, and then pour that over some areas of the fabric. For my fabric above I dyed the salmon colored fabric first with purple dye, then I went and added eggplant dye to that purple dye to make it a darker and slightly different shade. You can see the purple and the eggplant dye samples on the paper towel, below.
Let the fabric sit for 20-30 minutes, depending on how dark you want the colors to be. Keep in mind that the fabric will appear much darker when it is wet.
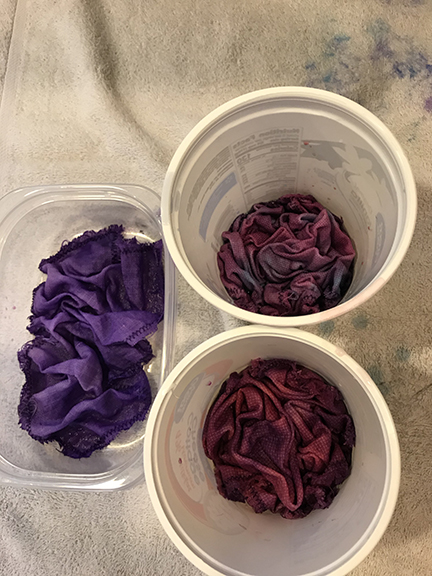
After getting that piece of fabric done, I moved on to two pieces of white fabric. I wanted to dye one piece a nice dark purple with lighter mottling, and the other a mixture of pink and purple and blue. Here are pictures of what they looked like in their containers. Notice that the tips of the fabric are not in the dye, so they are going to be lighter.

STEP 6: RINSE OUT THE DYE
After your fabric has sat in the dye for long enough, carefully take the fabric out of the dye bath (wear gloves!) and rinse it out in the sink. Use cool water. Rinse and rinse until the water runs clear. You will probably need to rinse it for longer than you think. Use one of your empty containers to gently squeeze the water out of your fabric into. If the water is not clear, you have not rinsed it for long enough! When you finally get all the dye out, carefully squeeze out the excess water and lay your fabric down on a towel. Spread it out with your hands to get out as many wrinkles as possible. Be sure that your gloves are clean, or else you could transfer some dye of an unwanted color to the fabric.
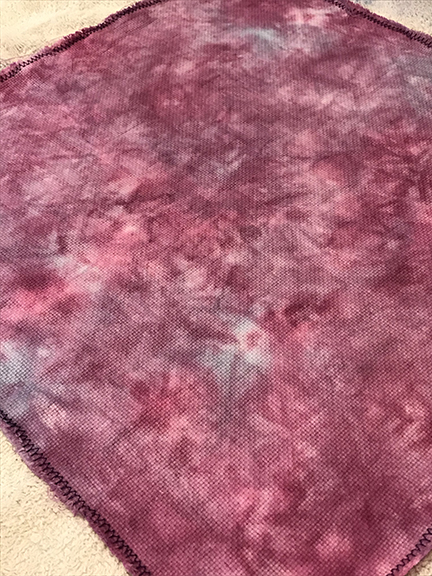
The fabric is much darker when it is wet!
Let the fabric dry almost completely, and then iron to get all the other wrinkles out. It is easier to do this when the fabric is just ever so slightly damp; completely dry fabric is much harder to get wrinkle-free.
STEP 7: ENJOY STITCHING WITH YOUR NEW FABRIC!
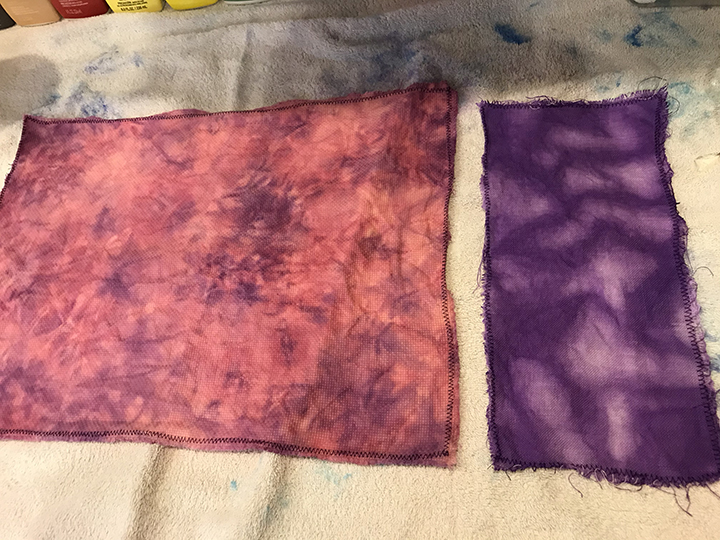
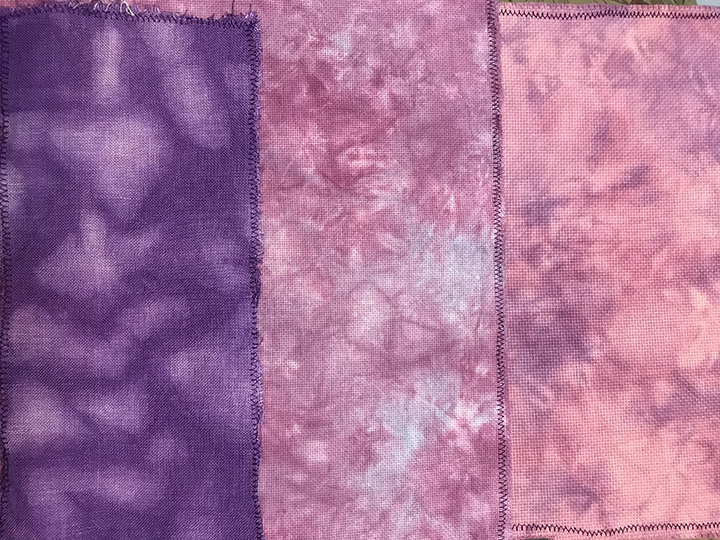
The finished pieces of fabric!
I hope this tutorial helps you to hand dye your own cross stitch fabrics. It is a lot of fun, and not very expensive. Be sure to use those 40% off coupons at the craft stores for the dye and fabric!
XXX
Carrie